a hockey birthday party - GAME SEVEN
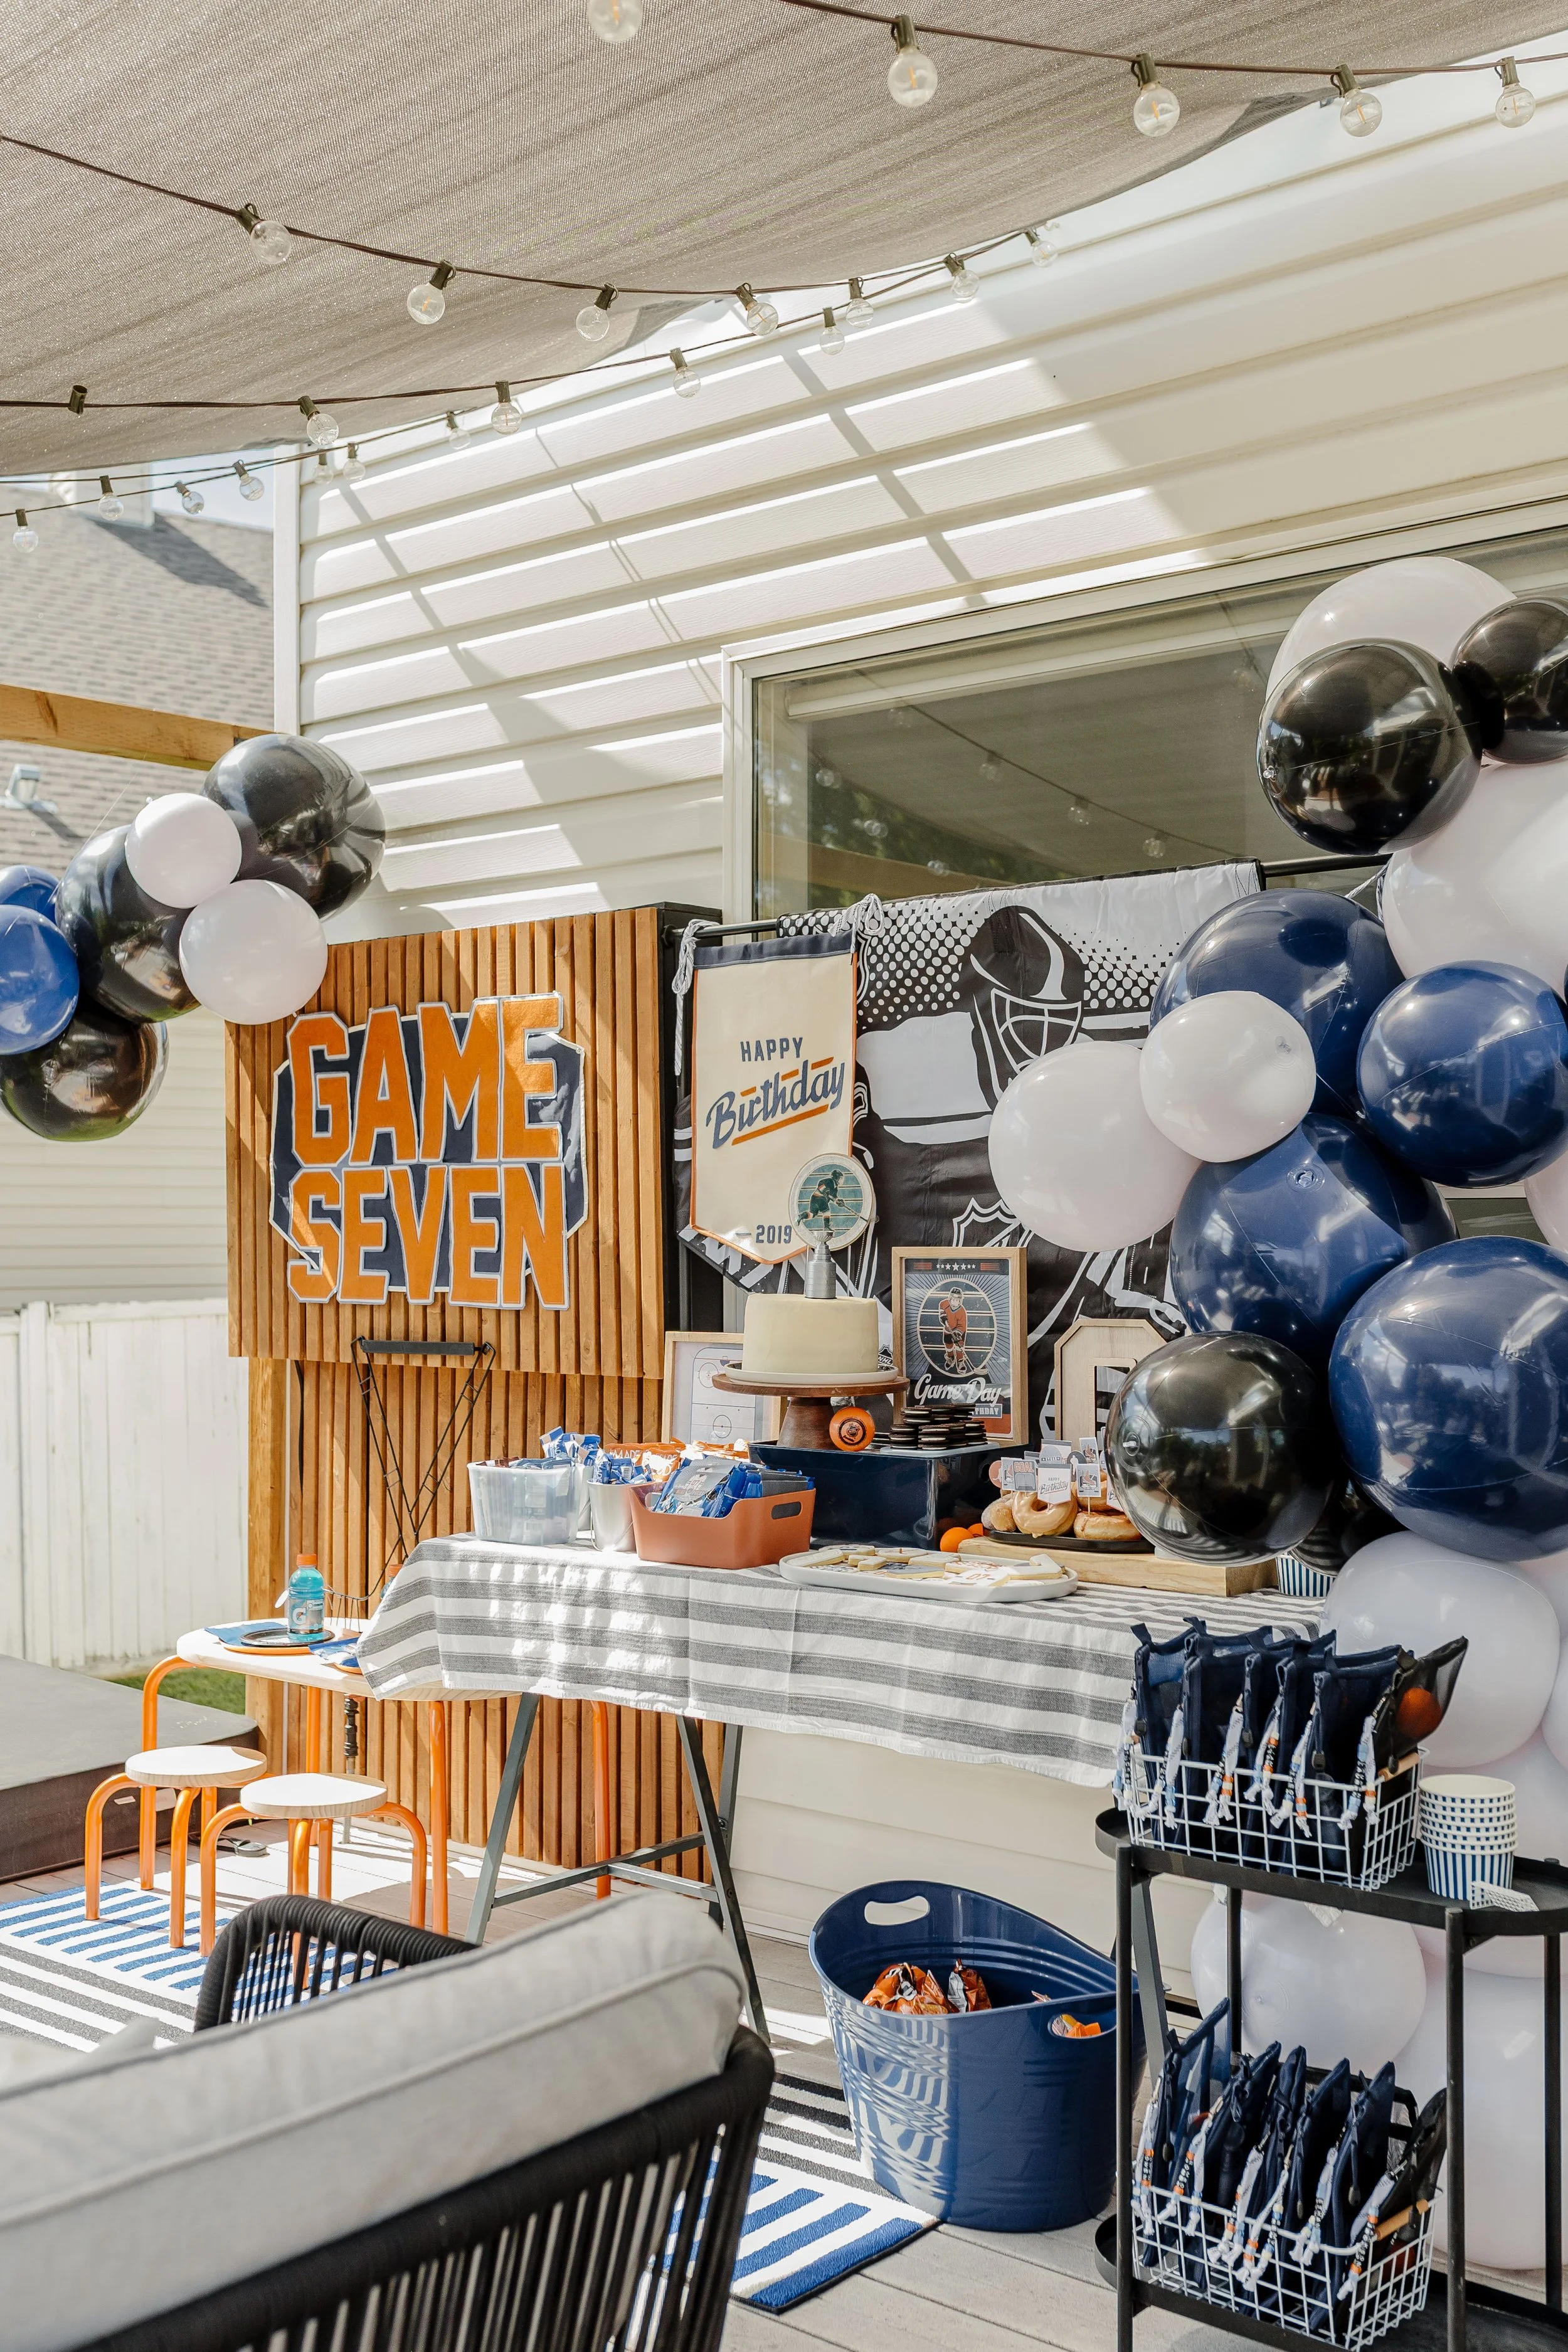
Ethan wanted a hockey-themed party for his 7th birthday, so naturally we decided on the slogan “GAME SEVEN” to celebrate like it’s the Stanley Cup final! The Edmonton Oilers are our favourite team, so I started there and used their team colours - navy + orange - for the colour scheme.
I used our outdoor patio area for the party set-up, as I was hoping we would have nice weather to keep the fun outside! Behind our house is paved area next to a park, so we set up 2 nets for the kids to play hockey (we asked the guests to wear a jersey and bring a hockey stick!). Between that and some fun outdoor games in our backyard, we had no problem keeping a ton of 7yr-old boys entertained for a few hours! In true hockey arena spirit, our “concession” featured freshly popped popcorn, burgers & hotdogs for supper, gatorade, chips, and lots more birthday treats!
![hockey party "mini pucks" - oreo snack pack wrappers [PRINTABLE FILE]](https://images.squarespace-cdn.com/content/v1/5b02f39c620b854ca4b2056f/5cf54adf-15ac-4b82-993c-ca632c7ca9d9/IMG_3071.jpg)
![custom name hockey treat topper [PRINTABLE FILE]](https://images.squarespace-cdn.com/content/v1/5b02f39c620b854ca4b2056f/be9b2b52-641d-4e3f-8cfe-d82c5f398764/IMG_3305.jpg)
![hockey treat toppers [PRINTABLE FILE]](https://images.squarespace-cdn.com/content/v1/5b02f39c620b854ca4b2056f/ecec2e80-af51-48c4-97b8-31a9b34cc7f5/IMG_3306.jpg)
![custom "Game Seven" Hockey invitation [PRINTABLE FILE]](https://images.squarespace-cdn.com/content/v1/5b02f39c620b854ca4b2056f/d1a72b78-4a6c-4ffc-8d5a-e70e25e91284/hockeyinvitation.jpg)
![bluey treat toppers [PRINTABLE FILE]](https://images.squarespace-cdn.com/content/v1/5b02f39c620b854ca4b2056f/e65d5f83-98d5-4888-9a7c-14463585a99f/blueyparty_15.jpg)
!["HAPPY BIRTHDAY" bluey-style DIY cake topper [PRINTABLE FILE]](https://images.squarespace-cdn.com/content/v1/5b02f39c620b854ca4b2056f/3b31a146-cf6c-4222-a2f4-b1a69696e3d8/bluey-caketopper_4.jpg)
![custom BLUEY-style name invitation [PRINTABLE FILE]](https://images.squarespace-cdn.com/content/v1/5b02f39c620b854ca4b2056f/53806a39-d7a8-487e-97b3-bb859c215116/bluey-invitation.jpg)


![" one " printable highchair banner [DIGITAL DOWNLOAD]](https://images.squarespace-cdn.com/content/v1/5b02f39c620b854ca4b2056f/1672514743749-QWDA6ME109ANJ3XGMPGR/ONE_highchairbanner.jpg)

SHOP HOCKEY SET UP
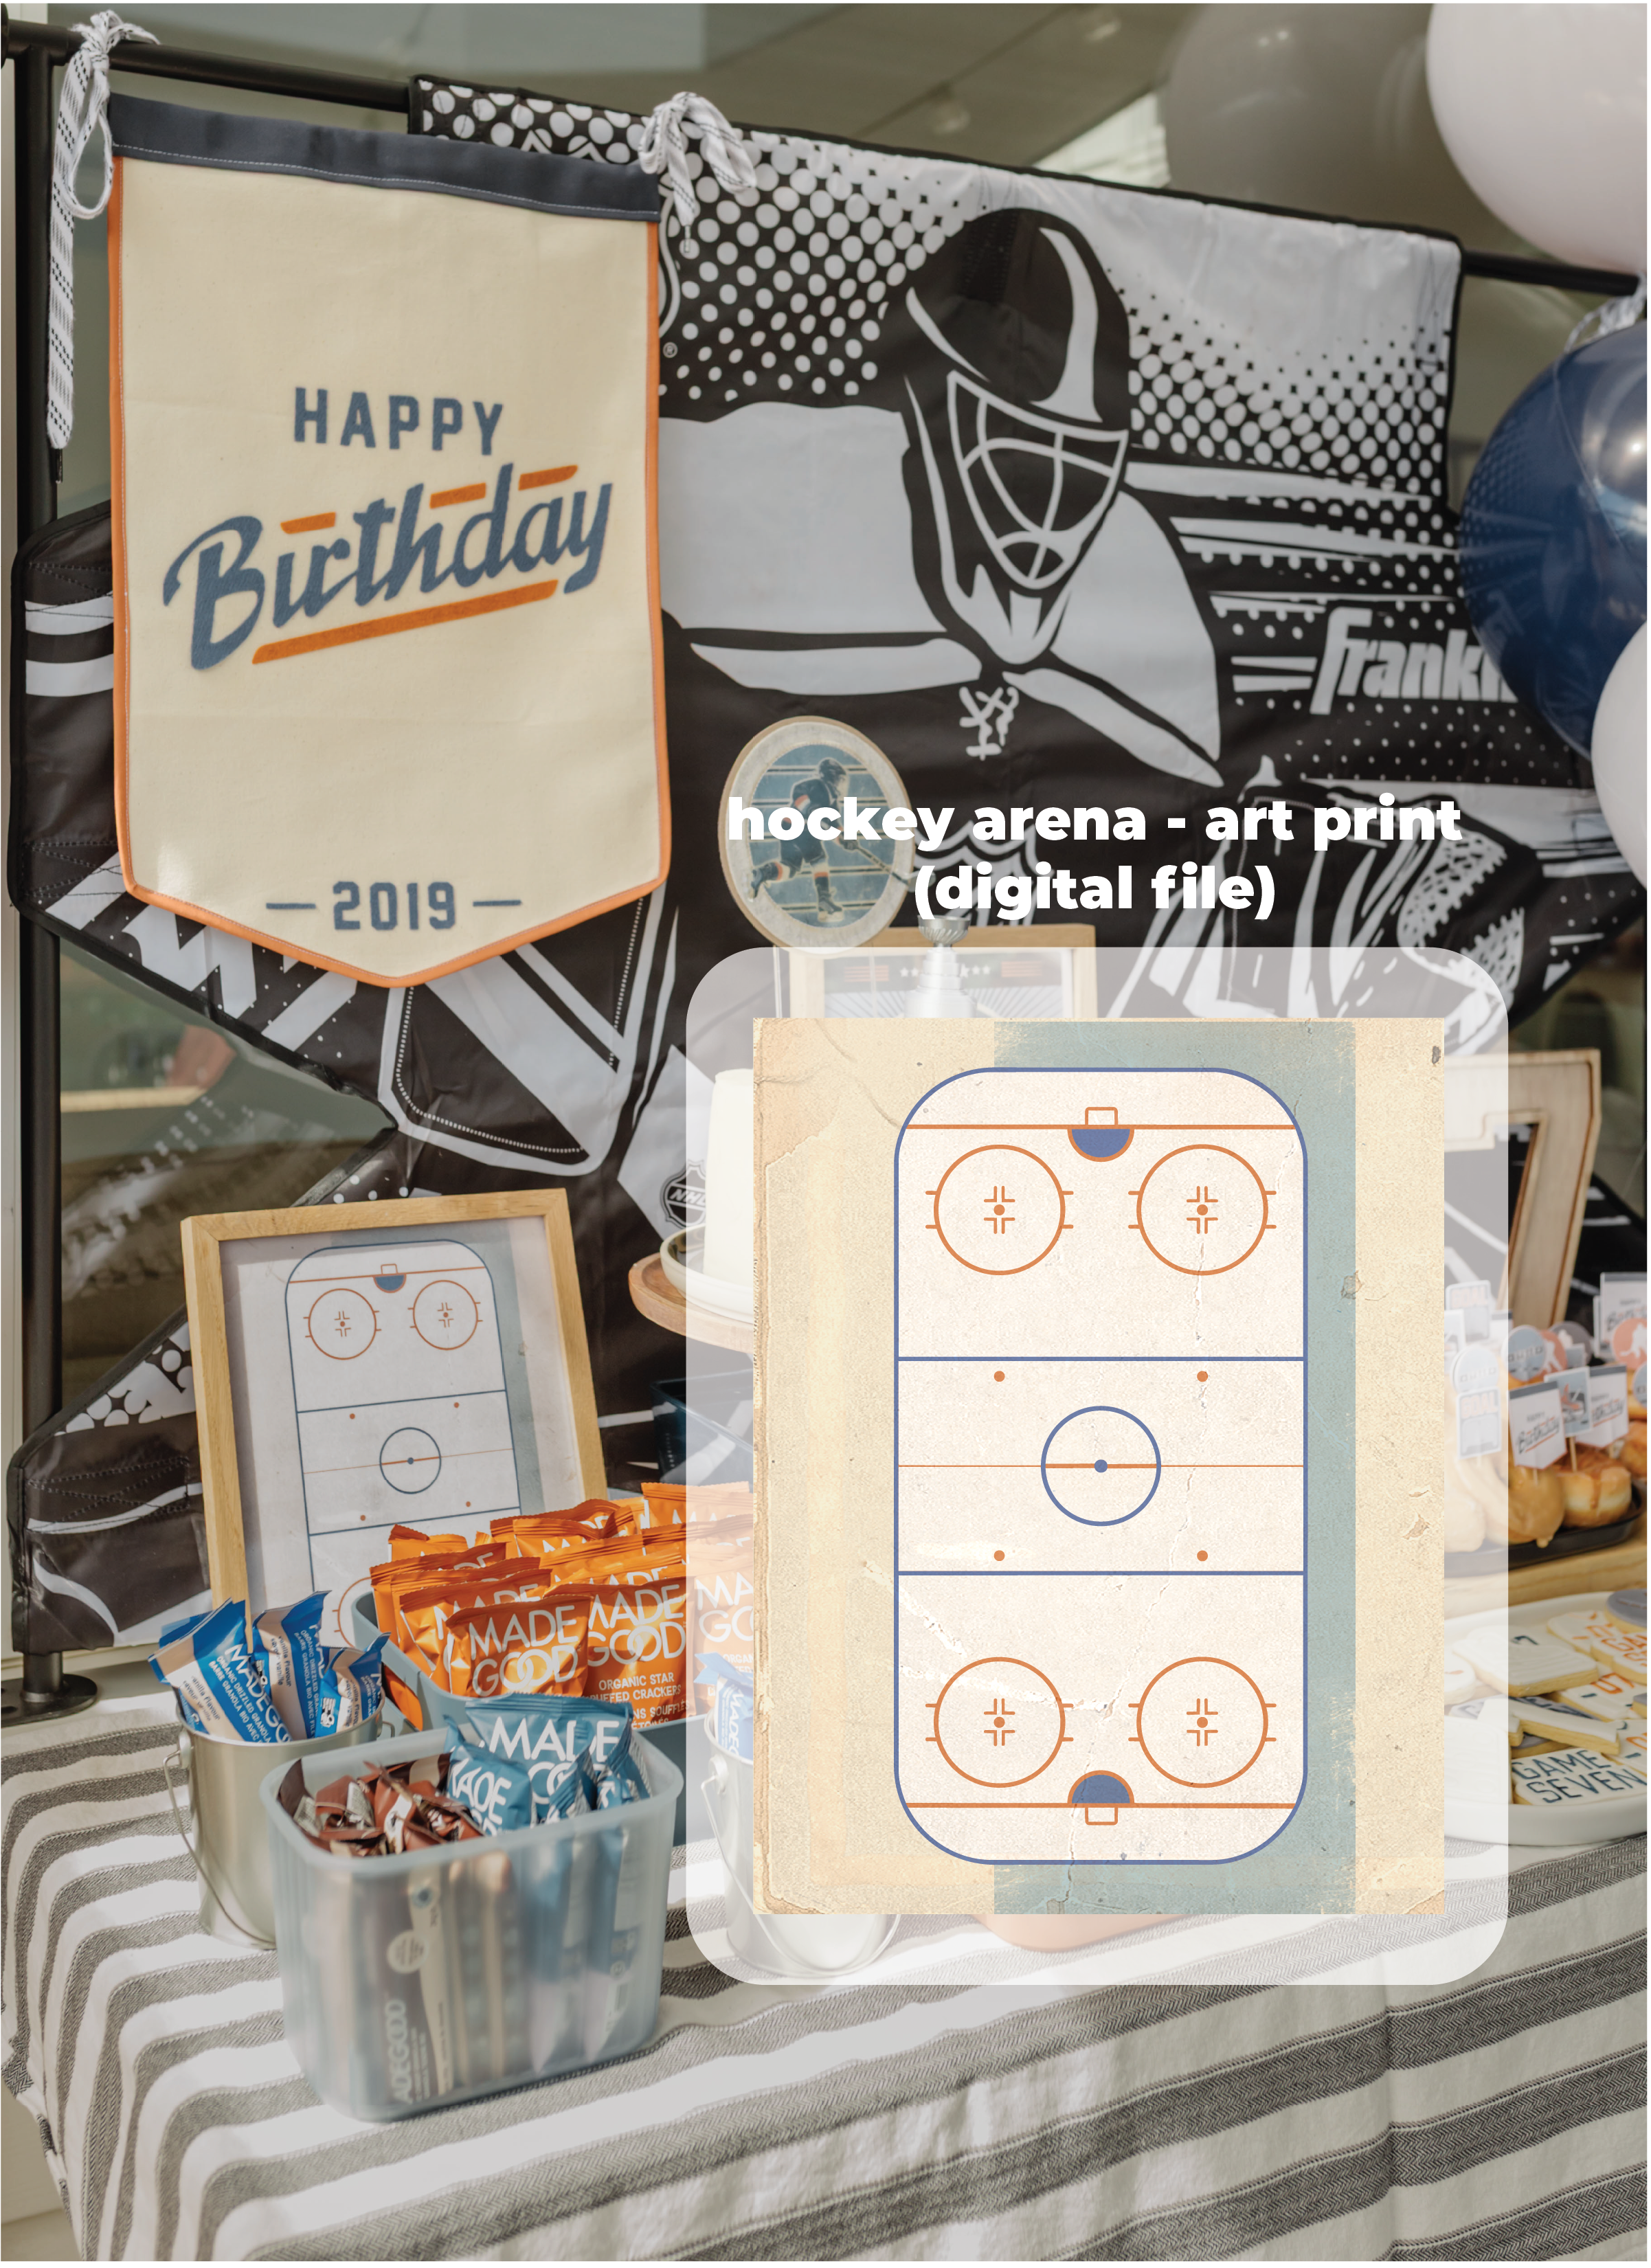
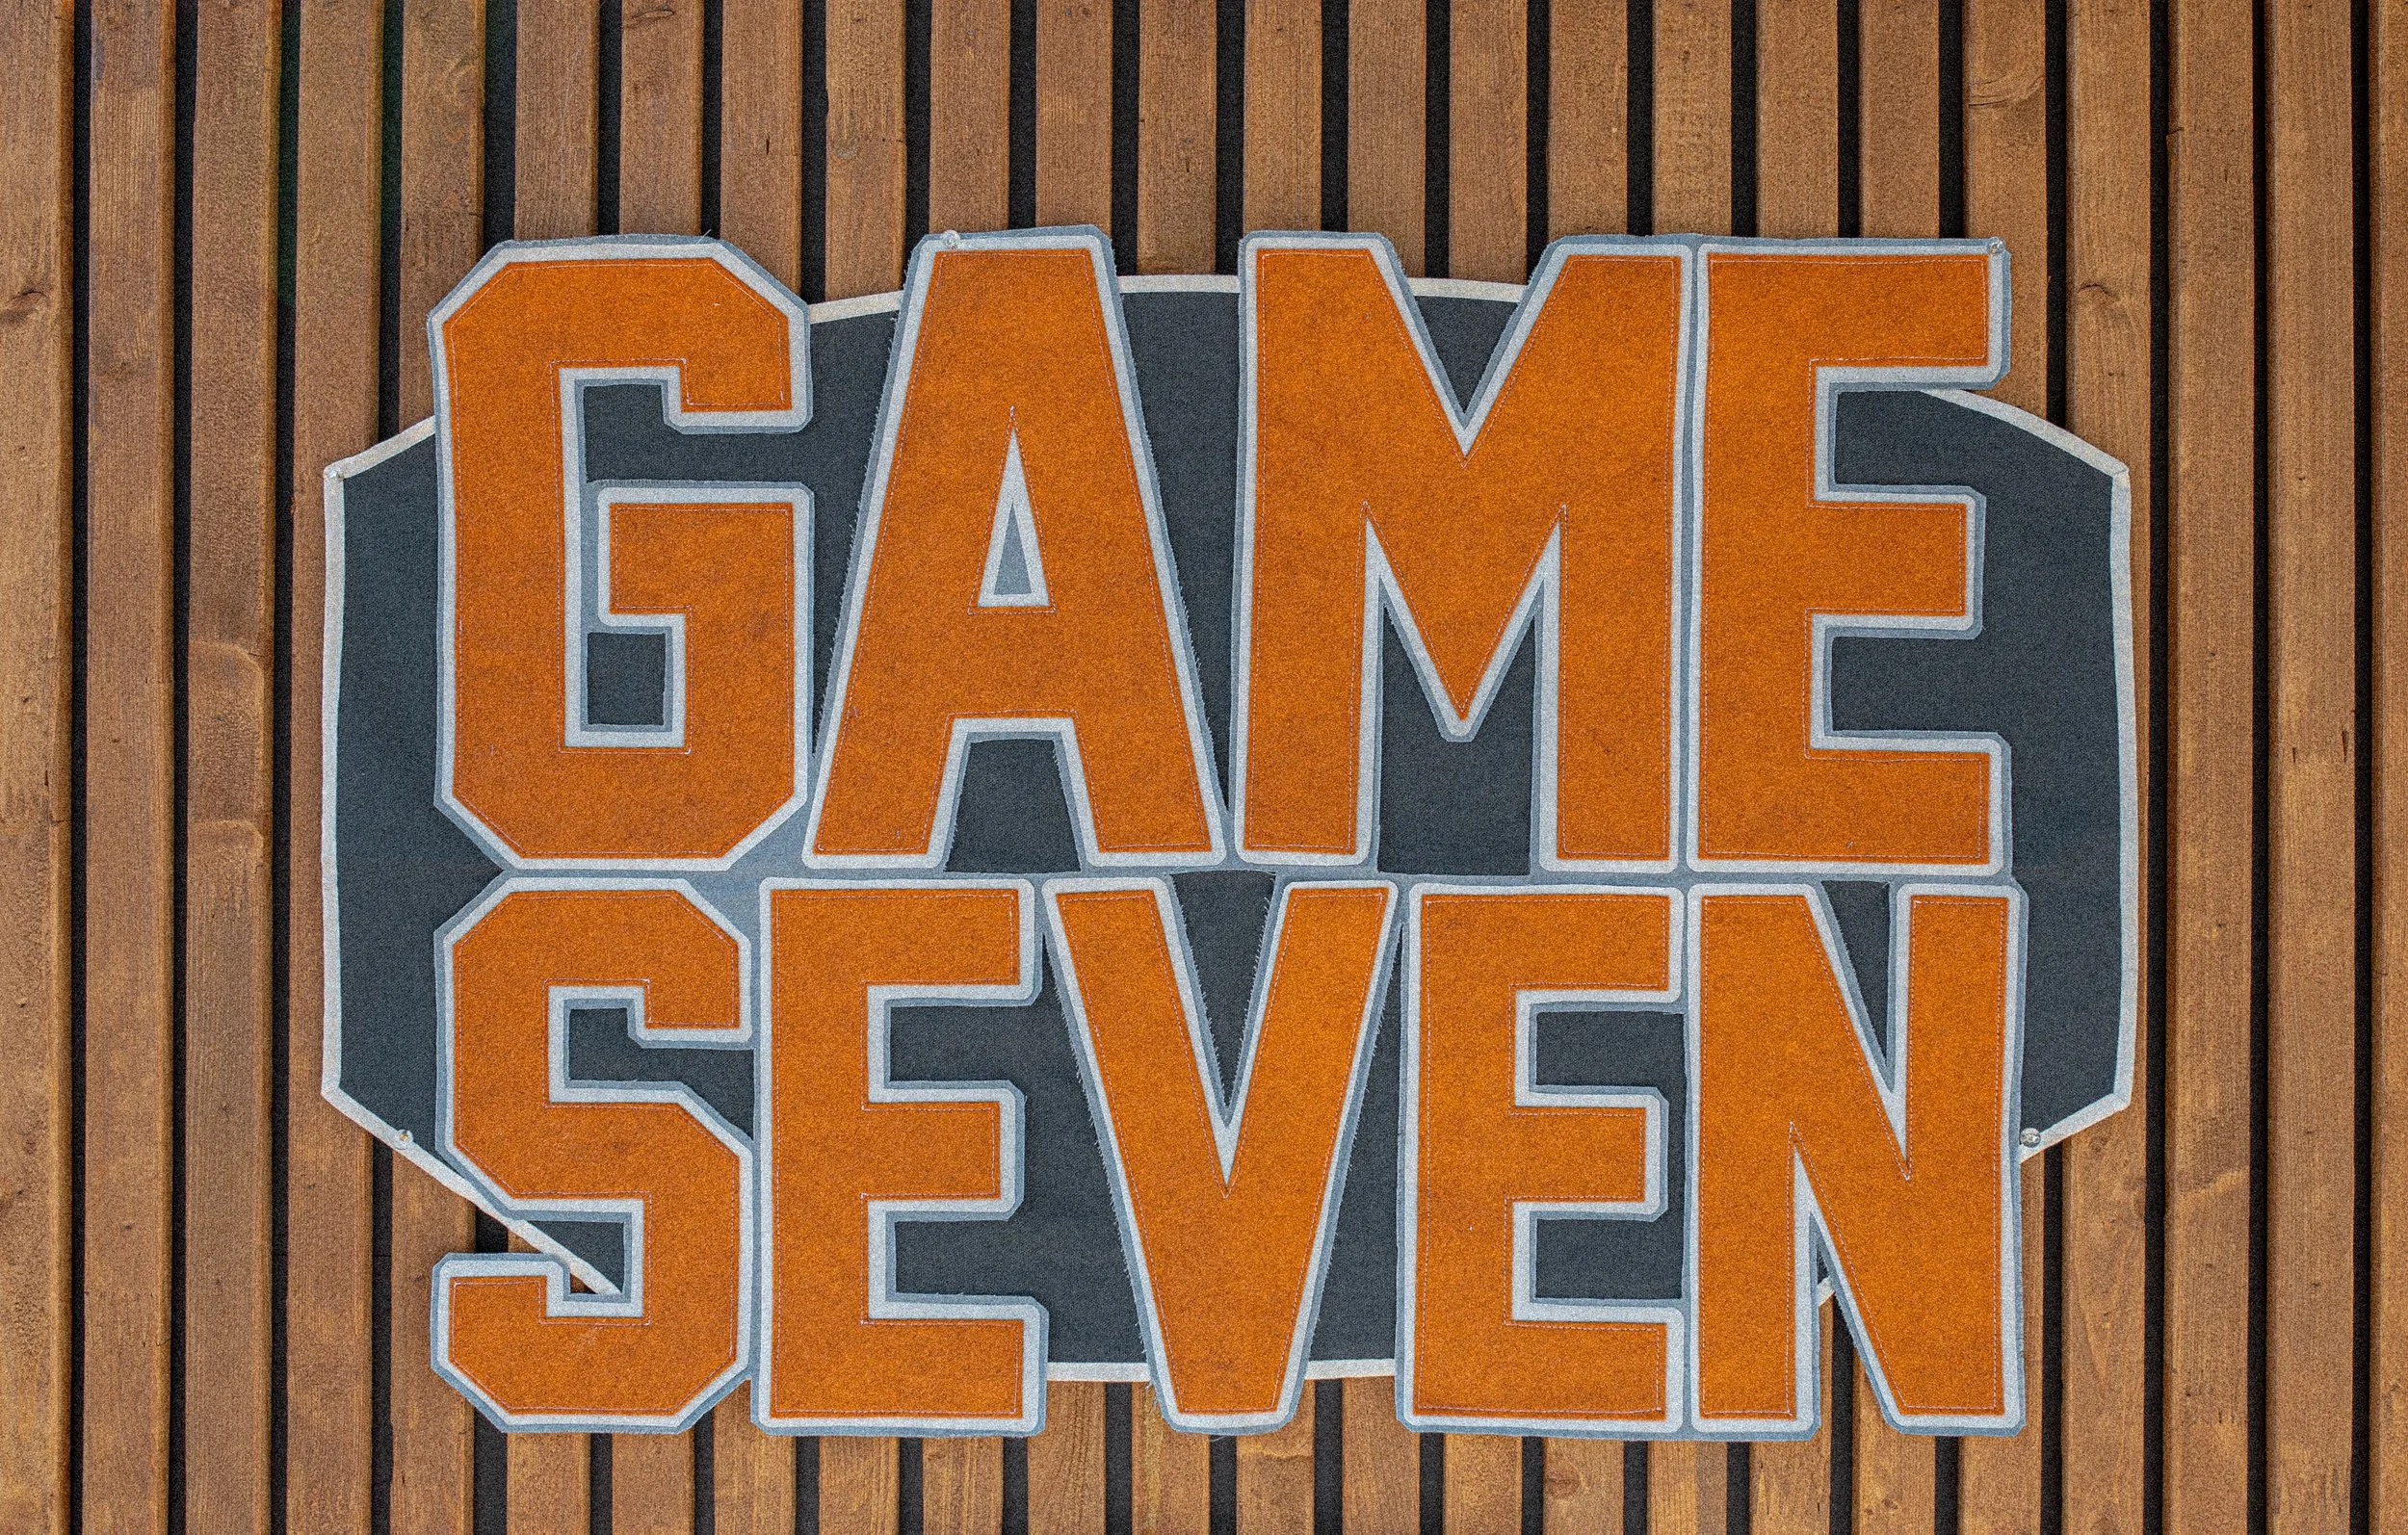
For the main table set up, I used this hockey net shooting target - but attached it to my table stand instead! It worked so well to create a backdrop and I love that we can use it again after. (This similar one is a pop-up version which would actually work even better because it would support itself!) On top of that, I layered a “happy birthday” banner that I made, and hung the “GAME SEVEN” sign that I made as well (you can download a printable version here!)
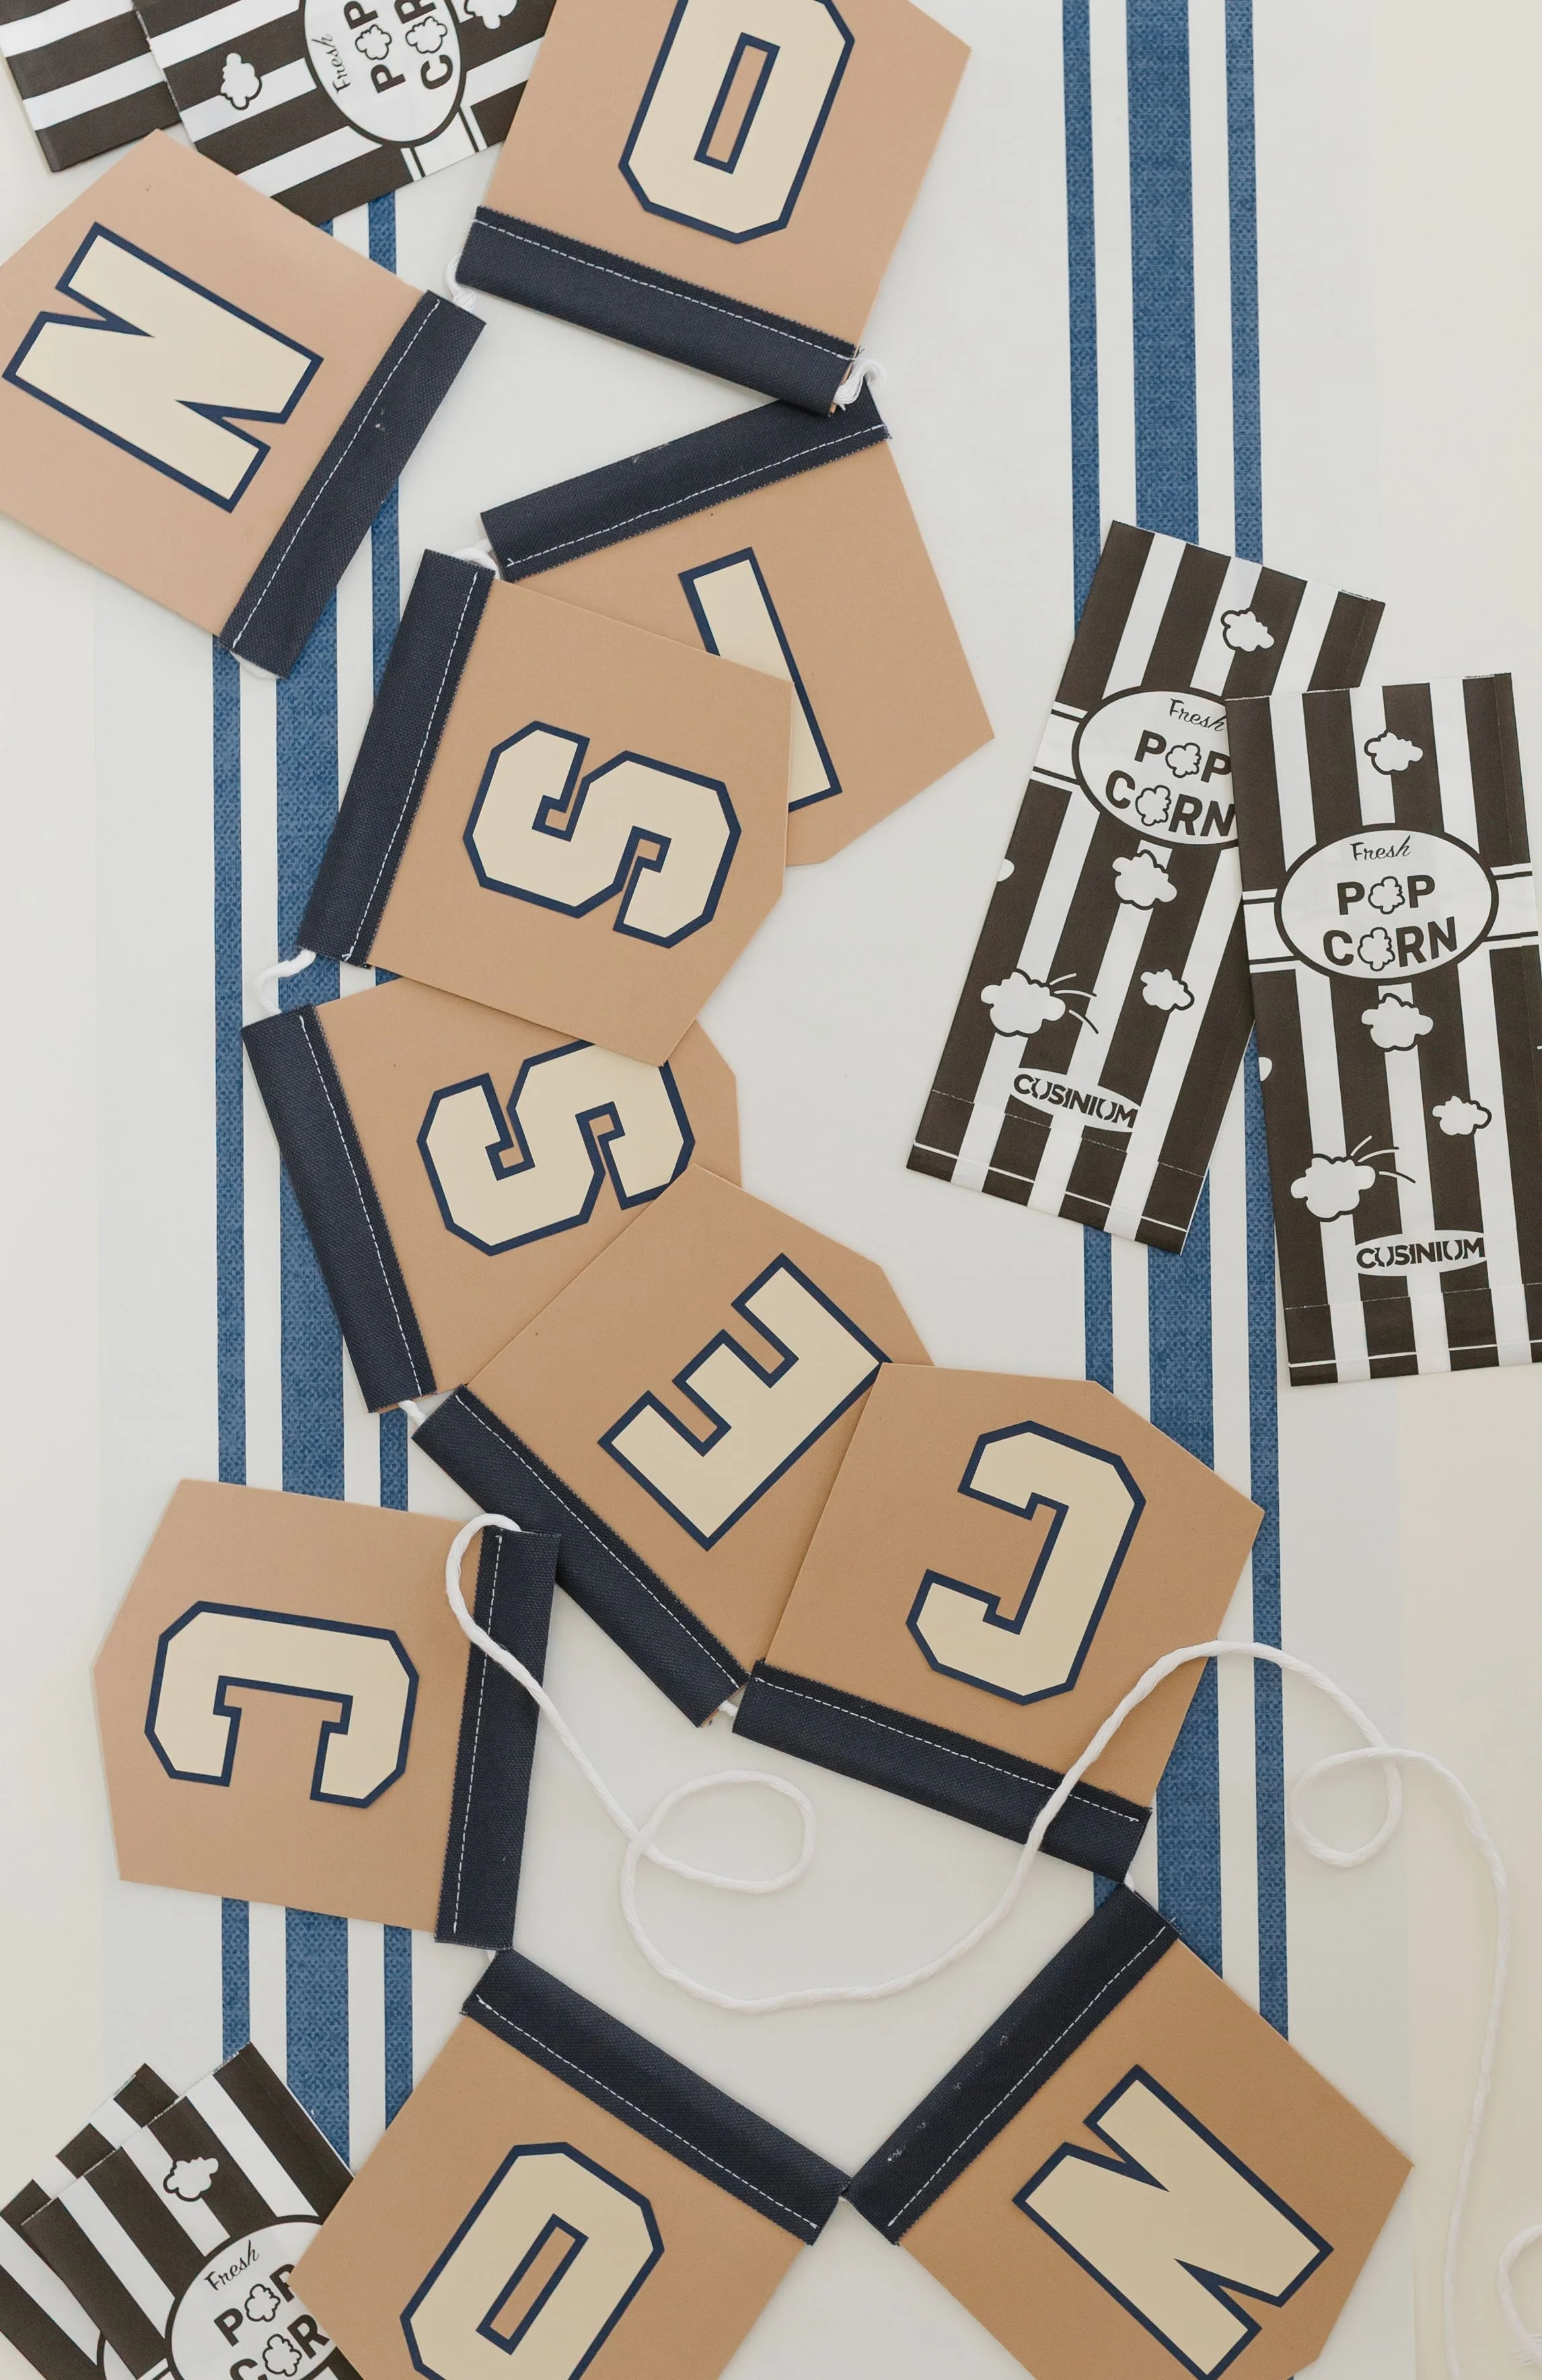
For the snacks - I set out assorted donuts with custom treat toppers, custom sugar cookies, a variety of granola bars (with orange and blue wrappers of course!), and then I made custom “Mini Pucks” wrappers for Oreo snack packs - they turned out so cute! (you can download the file to make your own here!) I also set out a bucket of mini bags of chips, and we had a popcorn machine making fresh popcorn too! These cute little black+white popcorn bags were perfect for the guests to fill on their own.
This is the second time I’ve used these amazing reusable balloons from PartyAire - I am forever converted - seriously it just doesn’t get any easier! For this party, I used 2 packs of the white clusters, and mixed them with 1 navy and 1 black cluster (4 total in this set up). They take no time at all to fill up with an air pump, and you can customize the clusters however you want to mix and match your colours. I just really love that they are so durable (especially for outdoor set ups!), and won’t get that weird dull finish like latex balloons do when they’ve been out in the sun. And I also just really like the perfectly round shape of them. Then when your party is over - just deflate and stow away for your next party! I love that I can pull them out for our little festive celebrations instead of buying more latex balloons that just end up in the trash after. Another big win for my party supply bin for sure!
SHOP REUSABLE BALLOONS
As always - I design the invitation for the party to ensure that the graphic design is cohesive with the decor! Using the invitation as my starting point, I also designed round graphics to add to each of the guests’ plates, and a “Game Day” poster featuring an illustration of Ethan playing hockey!
For the favours, I used navy mesh pencil cases to hold each guests’ goodies. Inside each case was a 3D printed stanley cup trophy, a pack of hockey cards, a pencil with a 3D printed hockey stick topper, a chocolate bar, and an orange foam hockey ball. I also set a bunch of assorted hockey stickers that the guests could choose from as they left as well!
To customize the favours - I made a beaded hockey lace keychain for each guest with their name on it. These were so easy to make, and a fun way to incorporate hockey laces to make them more on-theme for the party!
SHOP HOCKEY FAVOURS
To make sure the guests each had a spot to sit for eating snacks + food, I set up a few different picnic areas. Each place setting had orange+blue plates and a mini gatorade with the guest’s name on it. My biggest pet peeve at kids’ parties is when they take a sip from a pop, juice box, or cup and then run away to play… and then never finish it because they either don’t remember where they put it, or can’t figure out which one was theirs! So this is a fun way to avoid that happening, and make sure each guest has a spot as well (this also helps put certain kids beside each other, if there are kids who you know will want to sit together, or maybe siblings who might not know all of the kids, etc) Obviously you could just have a sharpie handy to write their names on them… but we know I love a custom detail! You can find the custom name labels here to print and make your own!
DIGITAL FILE ONLY : Hockey-Style Custom Guest Name Labels (x6)
SIZE: Each name label will approx. 1.5” round. All 6 name labels will be laid out on 8.5”x11” sheet for easy printing.
PLEASE NOTE: purchase includes a file that contain up to 6 names. If you require additional names, make sure to purchase another file.
FILE TYPE: PDF
When you check out, add each of your guests names (up to 6). You will receive a digital file to your email address provided with a printable file containing your name labels. Then you can print your file on sticker paper and cut out to make labels, or cut out and hole punch the top to create hang tags. Perfect for party favours, treat bags, drink cups/juice boxes, etc!
Purchase includes digital download of invitation file for personal use only.
NOTE: Please allow 3 business days to deliver custom digital file to your inbox.
want more inspo? check out all the details from this HOCKEY PARTY party here!