DIY felt baskets
My 4 best friends and I were getting together for a girls weekend (kid free!) and I wanted to put together a little gift basket for them, but I wasn’t finding what I was looking for! SO in typical Merissa fashion - I decided to make them! With felt obviously, because I always have a lot of that on hand! So if you’d like to make one (or 5!) of your own - here is the full tutorial! I was sort of making it up as I went, but I love how they turned out! I think you could easily edit the size/shape depending on what you wanted to put in them too. I just wanted to be able to use a standard piece of craft store felt, so I went off of that make my shape.

You will need:
sewing machine
thread
scissors
2 sheets of felt (I bought regular craft store felt, I used white for the lining, and grey for the outside, but you could use any colour you’d like! I think a fun lining colour would look cute too!)
canvas fabric (I just bought a canvas painter’s drop cloth from our local hardware store because we don’t have a fabric store in our small town! but its really affordable and easy to work with)
fun foam or thin cardboard for bottom

STEP 1:
I started with a 12” x 8.5” piece of felt, and marked out 2” squares from each corner
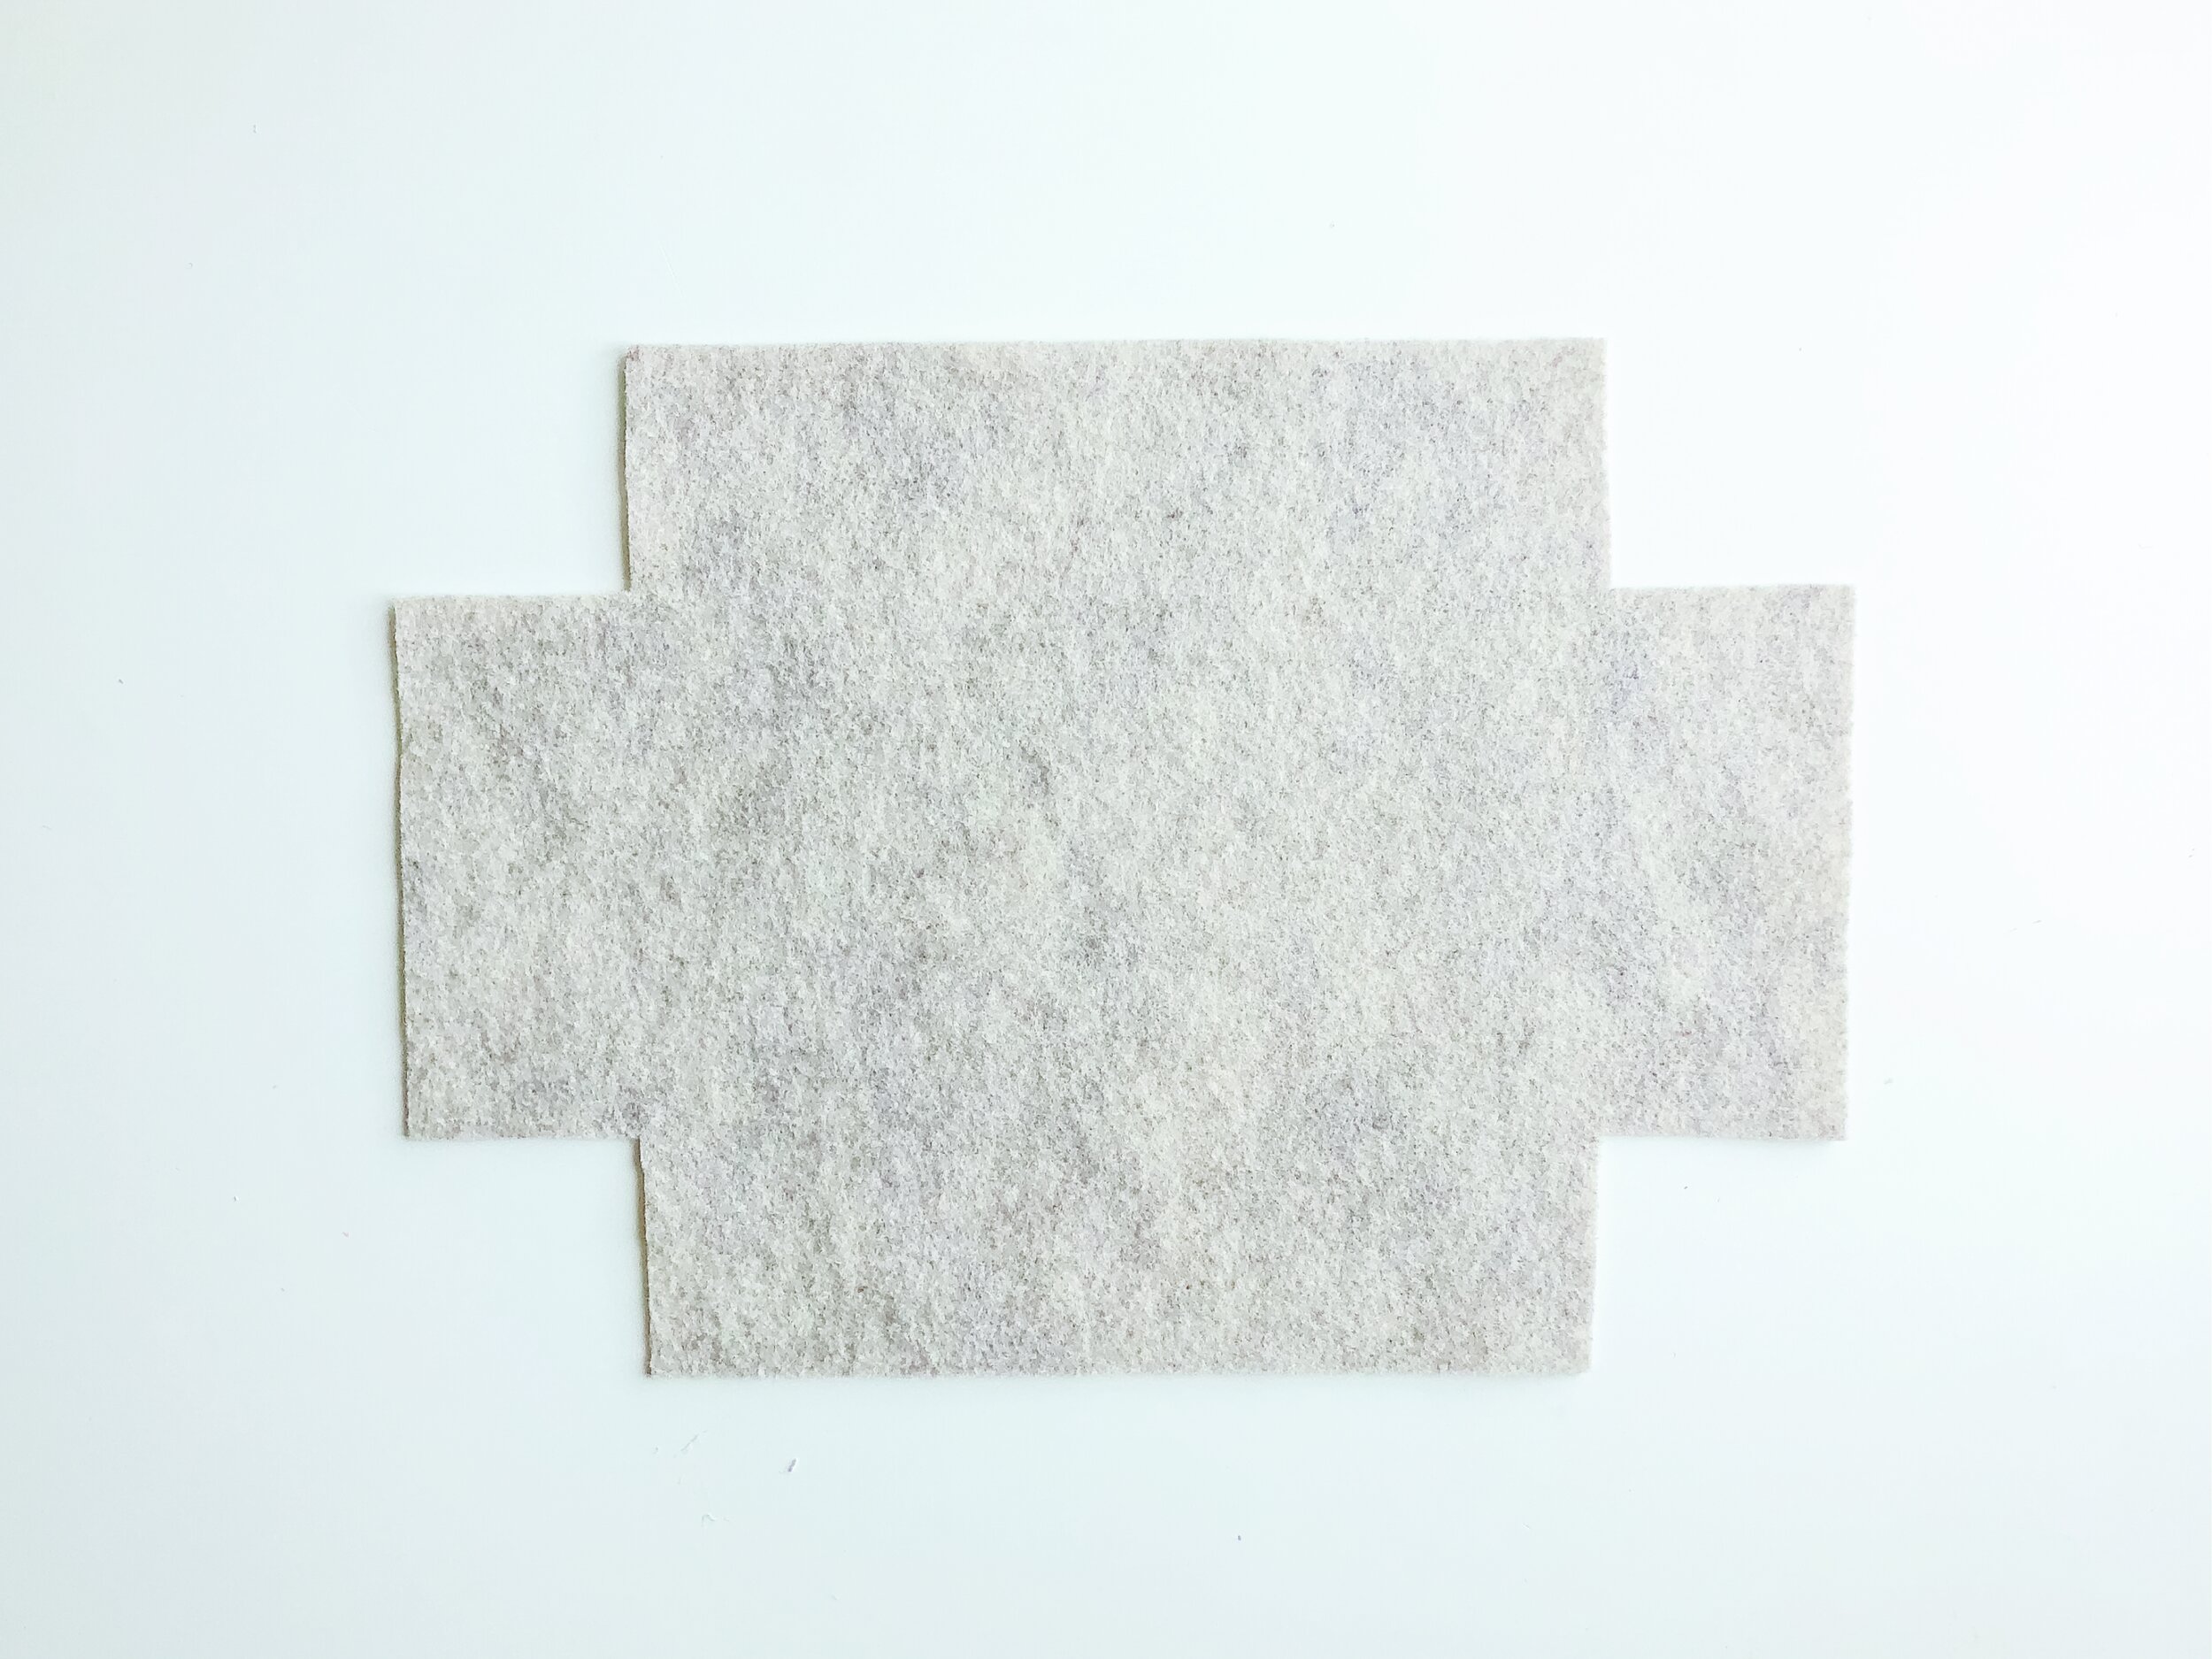
STEP 2:
cut out corners

STEP 3:
trace shape on to canvas, and repeat on other piece of felt
STEP 4:
stack all 3 layers together (the canvas will be the inside of the basket)
STEP 5:
cut out the fun foam for the bottom (I had this on hand, but I just wanted to add some structure to the bottom, while still making it bendable to get it under my sewing machine! You might be able to try cardboard, but I didn’t!)

STEP 6:
sew straight lines along the sides (leaving the corners open), and not going all the way to the edges. I also learned from trial + error that pulling the canvas and white felt past the outer grey felt made it less bunched up once I sewed the corners!

STEP 7:
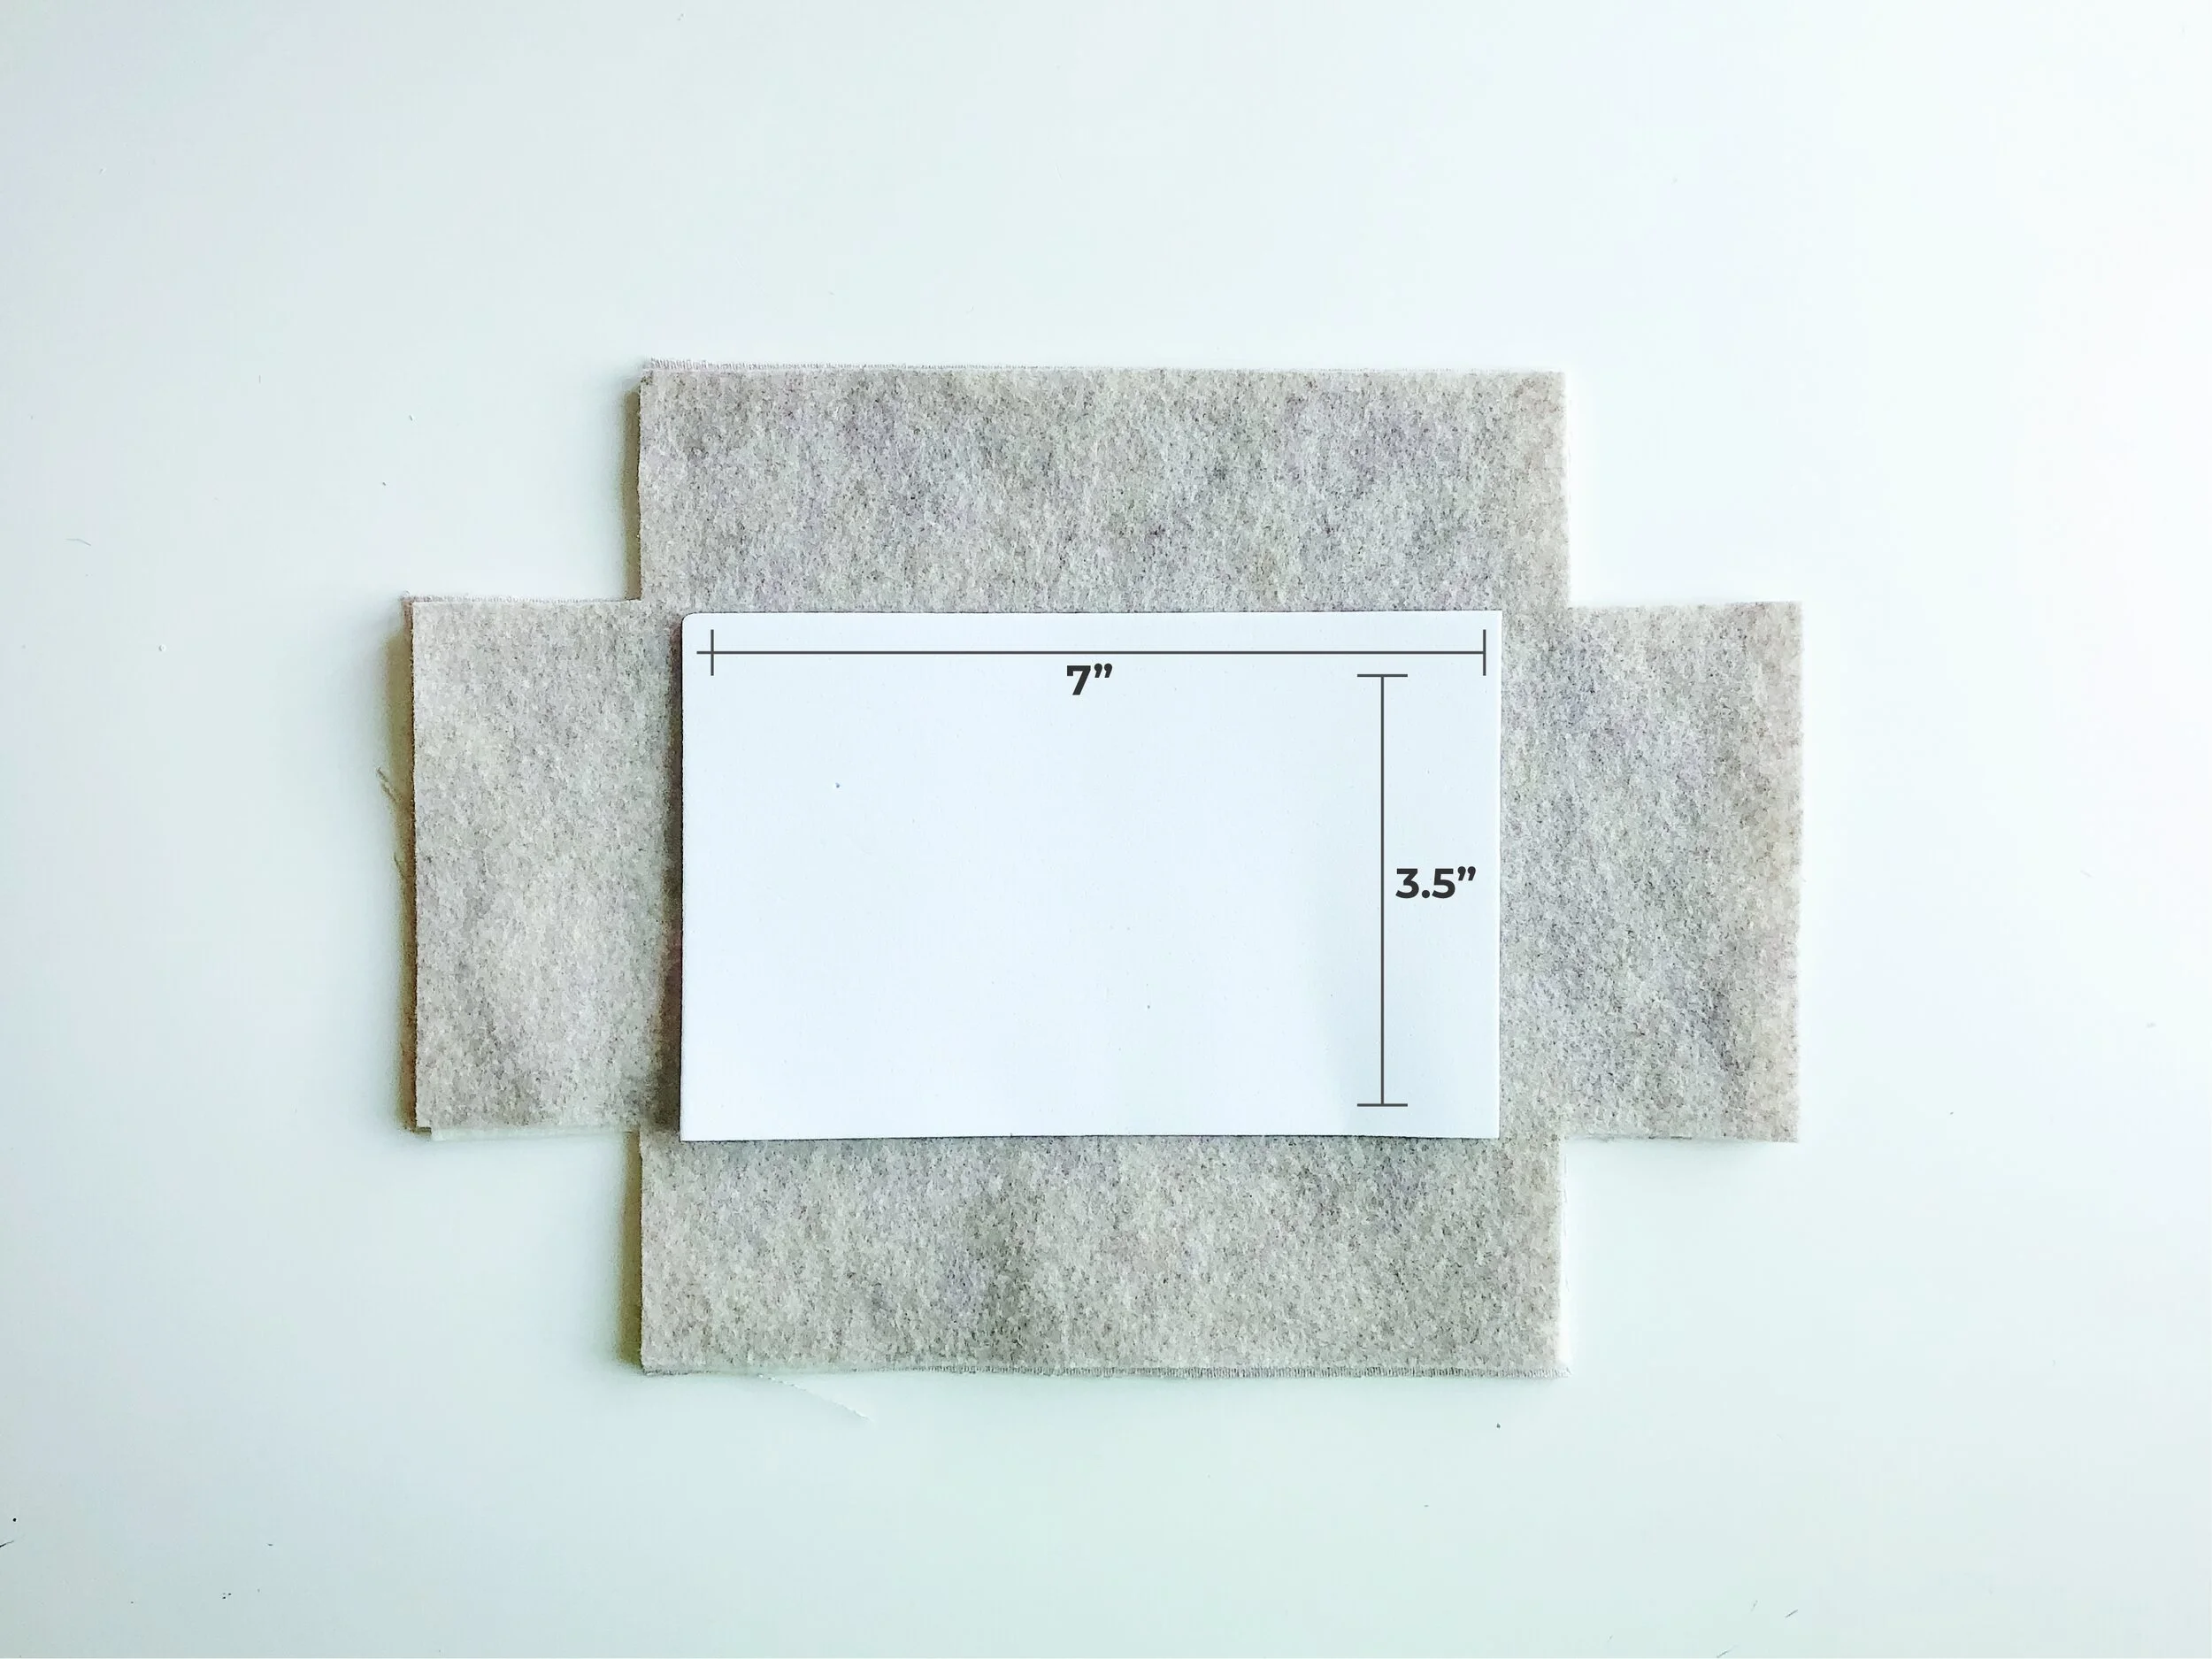
Make the handles: I used the canvas fabric to make the handles. Cut out 2 pieces of canvas 6.5” x 3”. Follow the directions above to make the handles. I ended up leaving the ends unfinished as I liked the frayed look once they were sewed in place!

STEP 8:
sew the handles on: I just stitched across the original seam I made on the short edges, and then secured them again on the bottom of each handle.

STEP 9:
sew the corners of the basket: (sorry the handles should be on this image!!) Fold the fabric diagonally to line up the corners (see image) and sew - ensuring to go all the way to the top edge so that your basket has a strong top edge!
STEP 10:
Repeat on all 4 corners and you’re done! I trimmed any uneven edges so that all 3 layers were aligned and even to finish it off. I liked how the canvas frayed along the top edge.

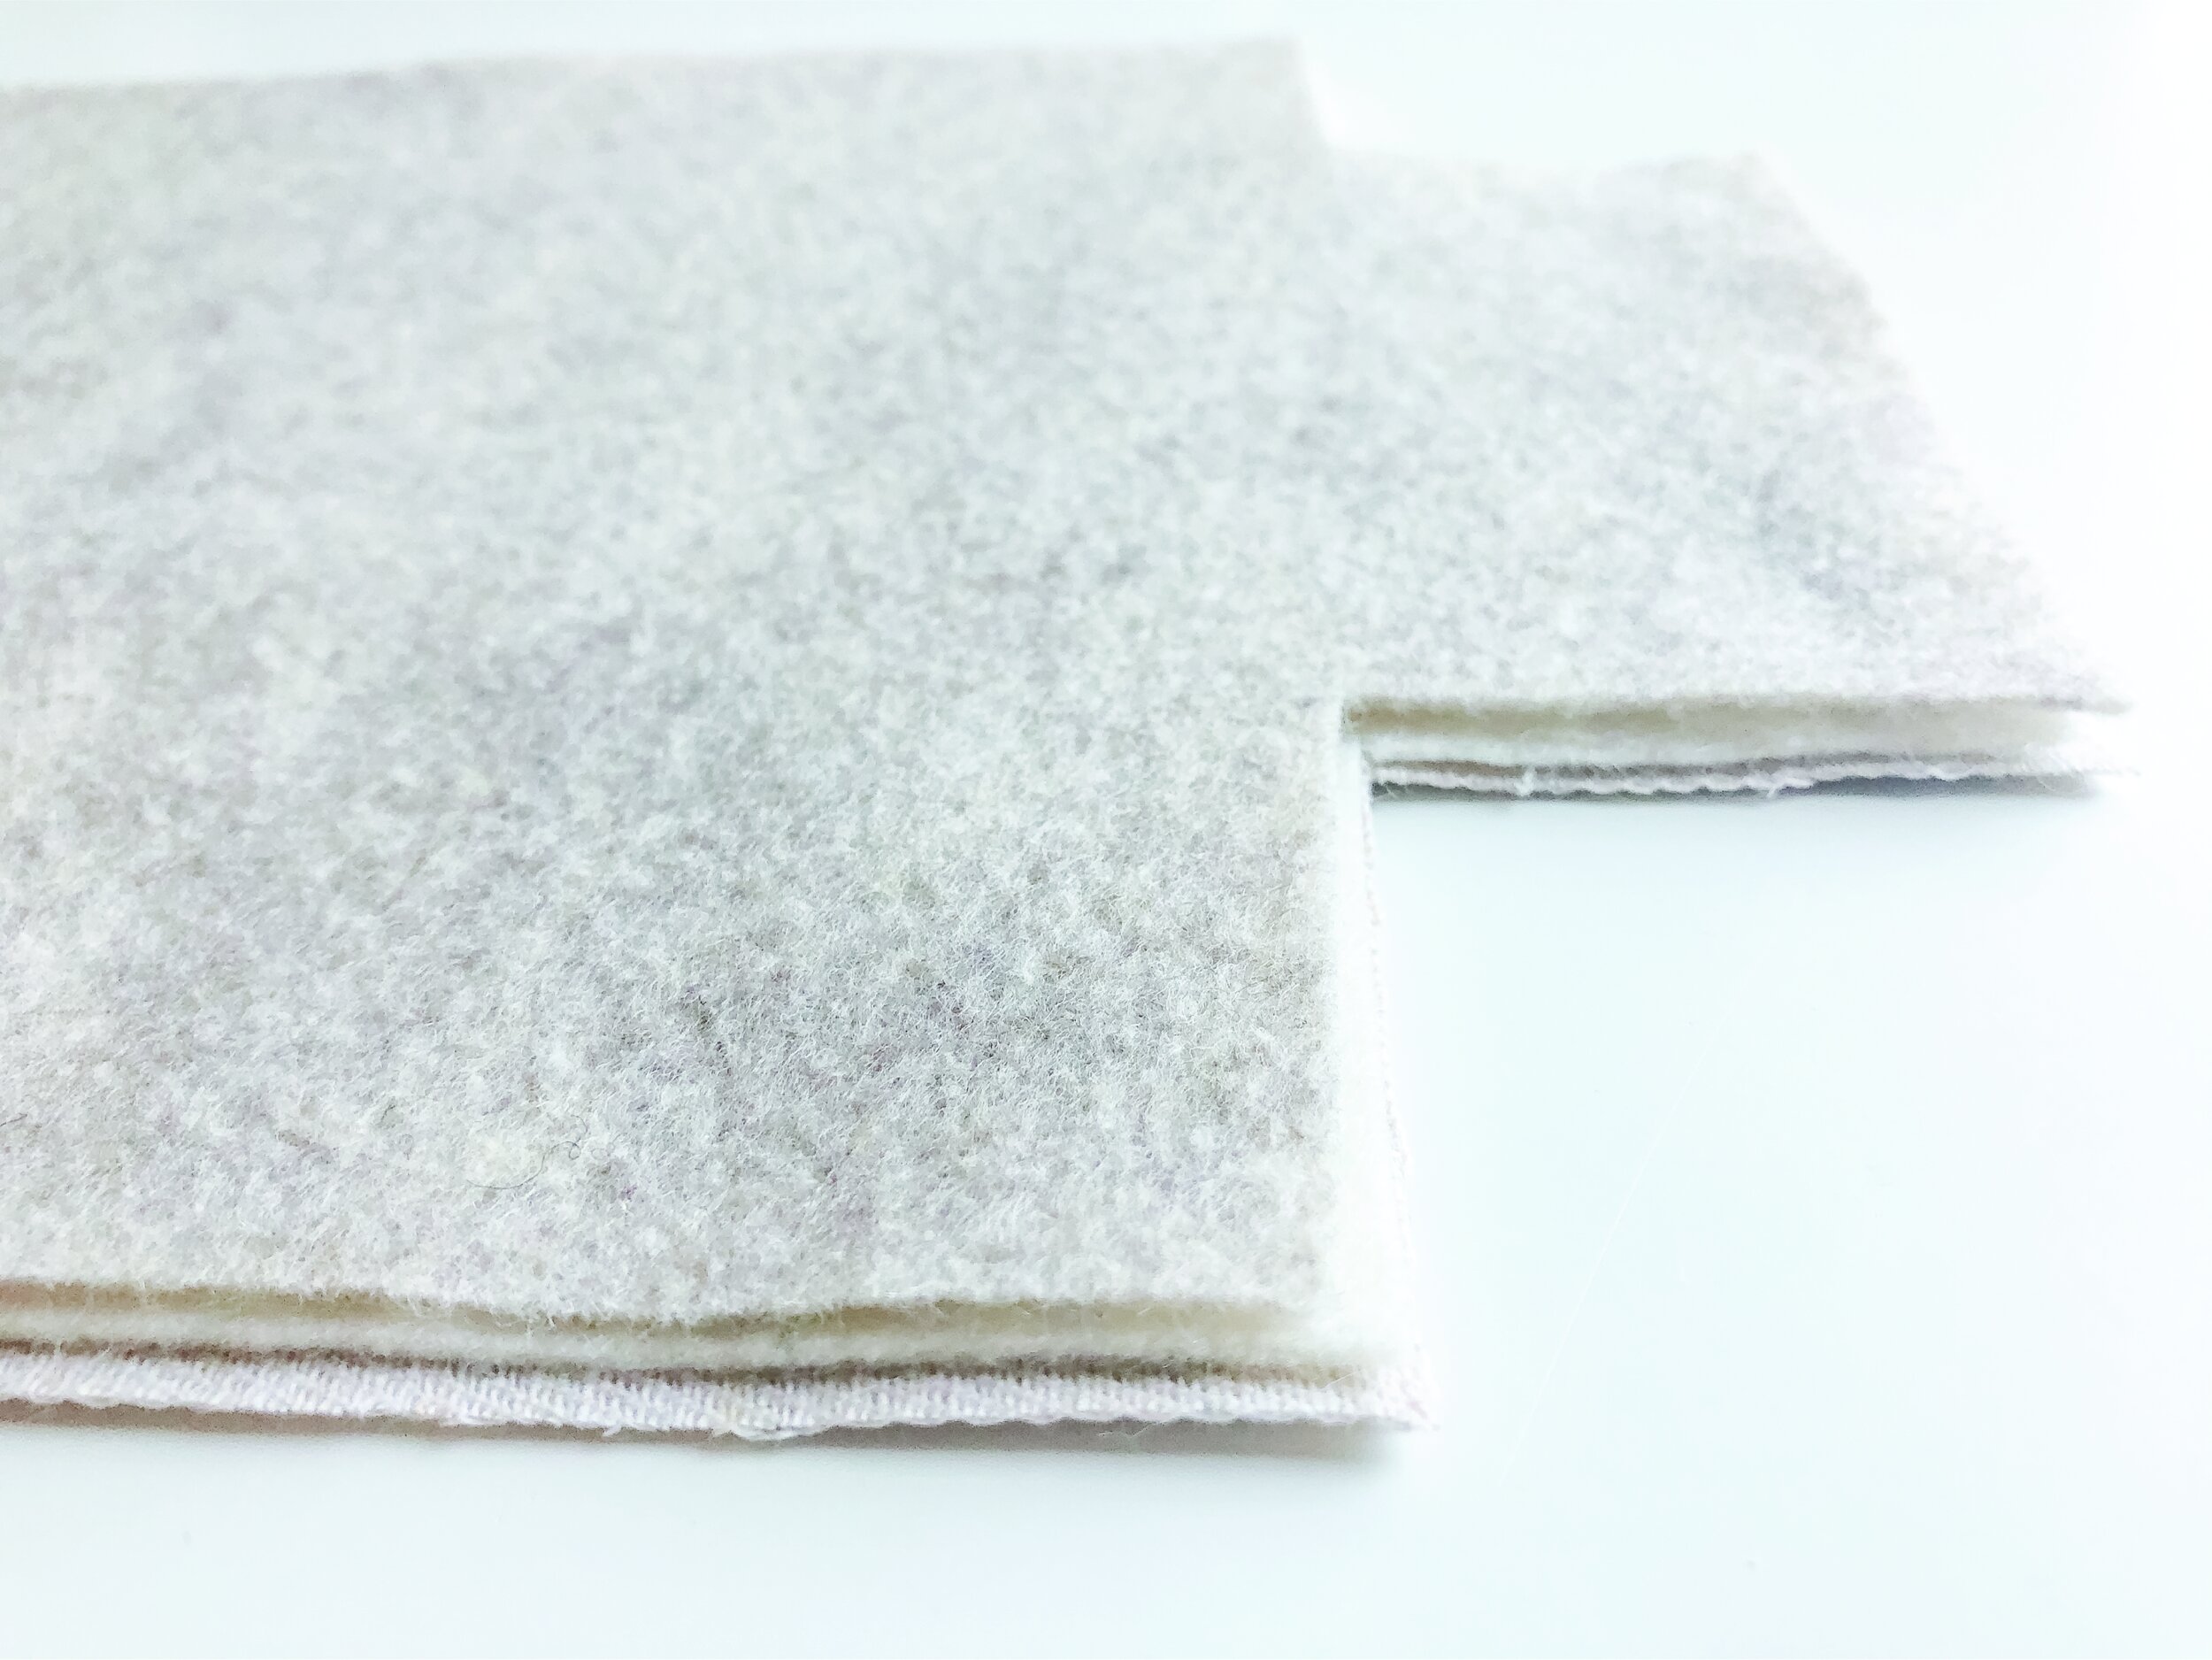
Here is a close up of one of the corners!


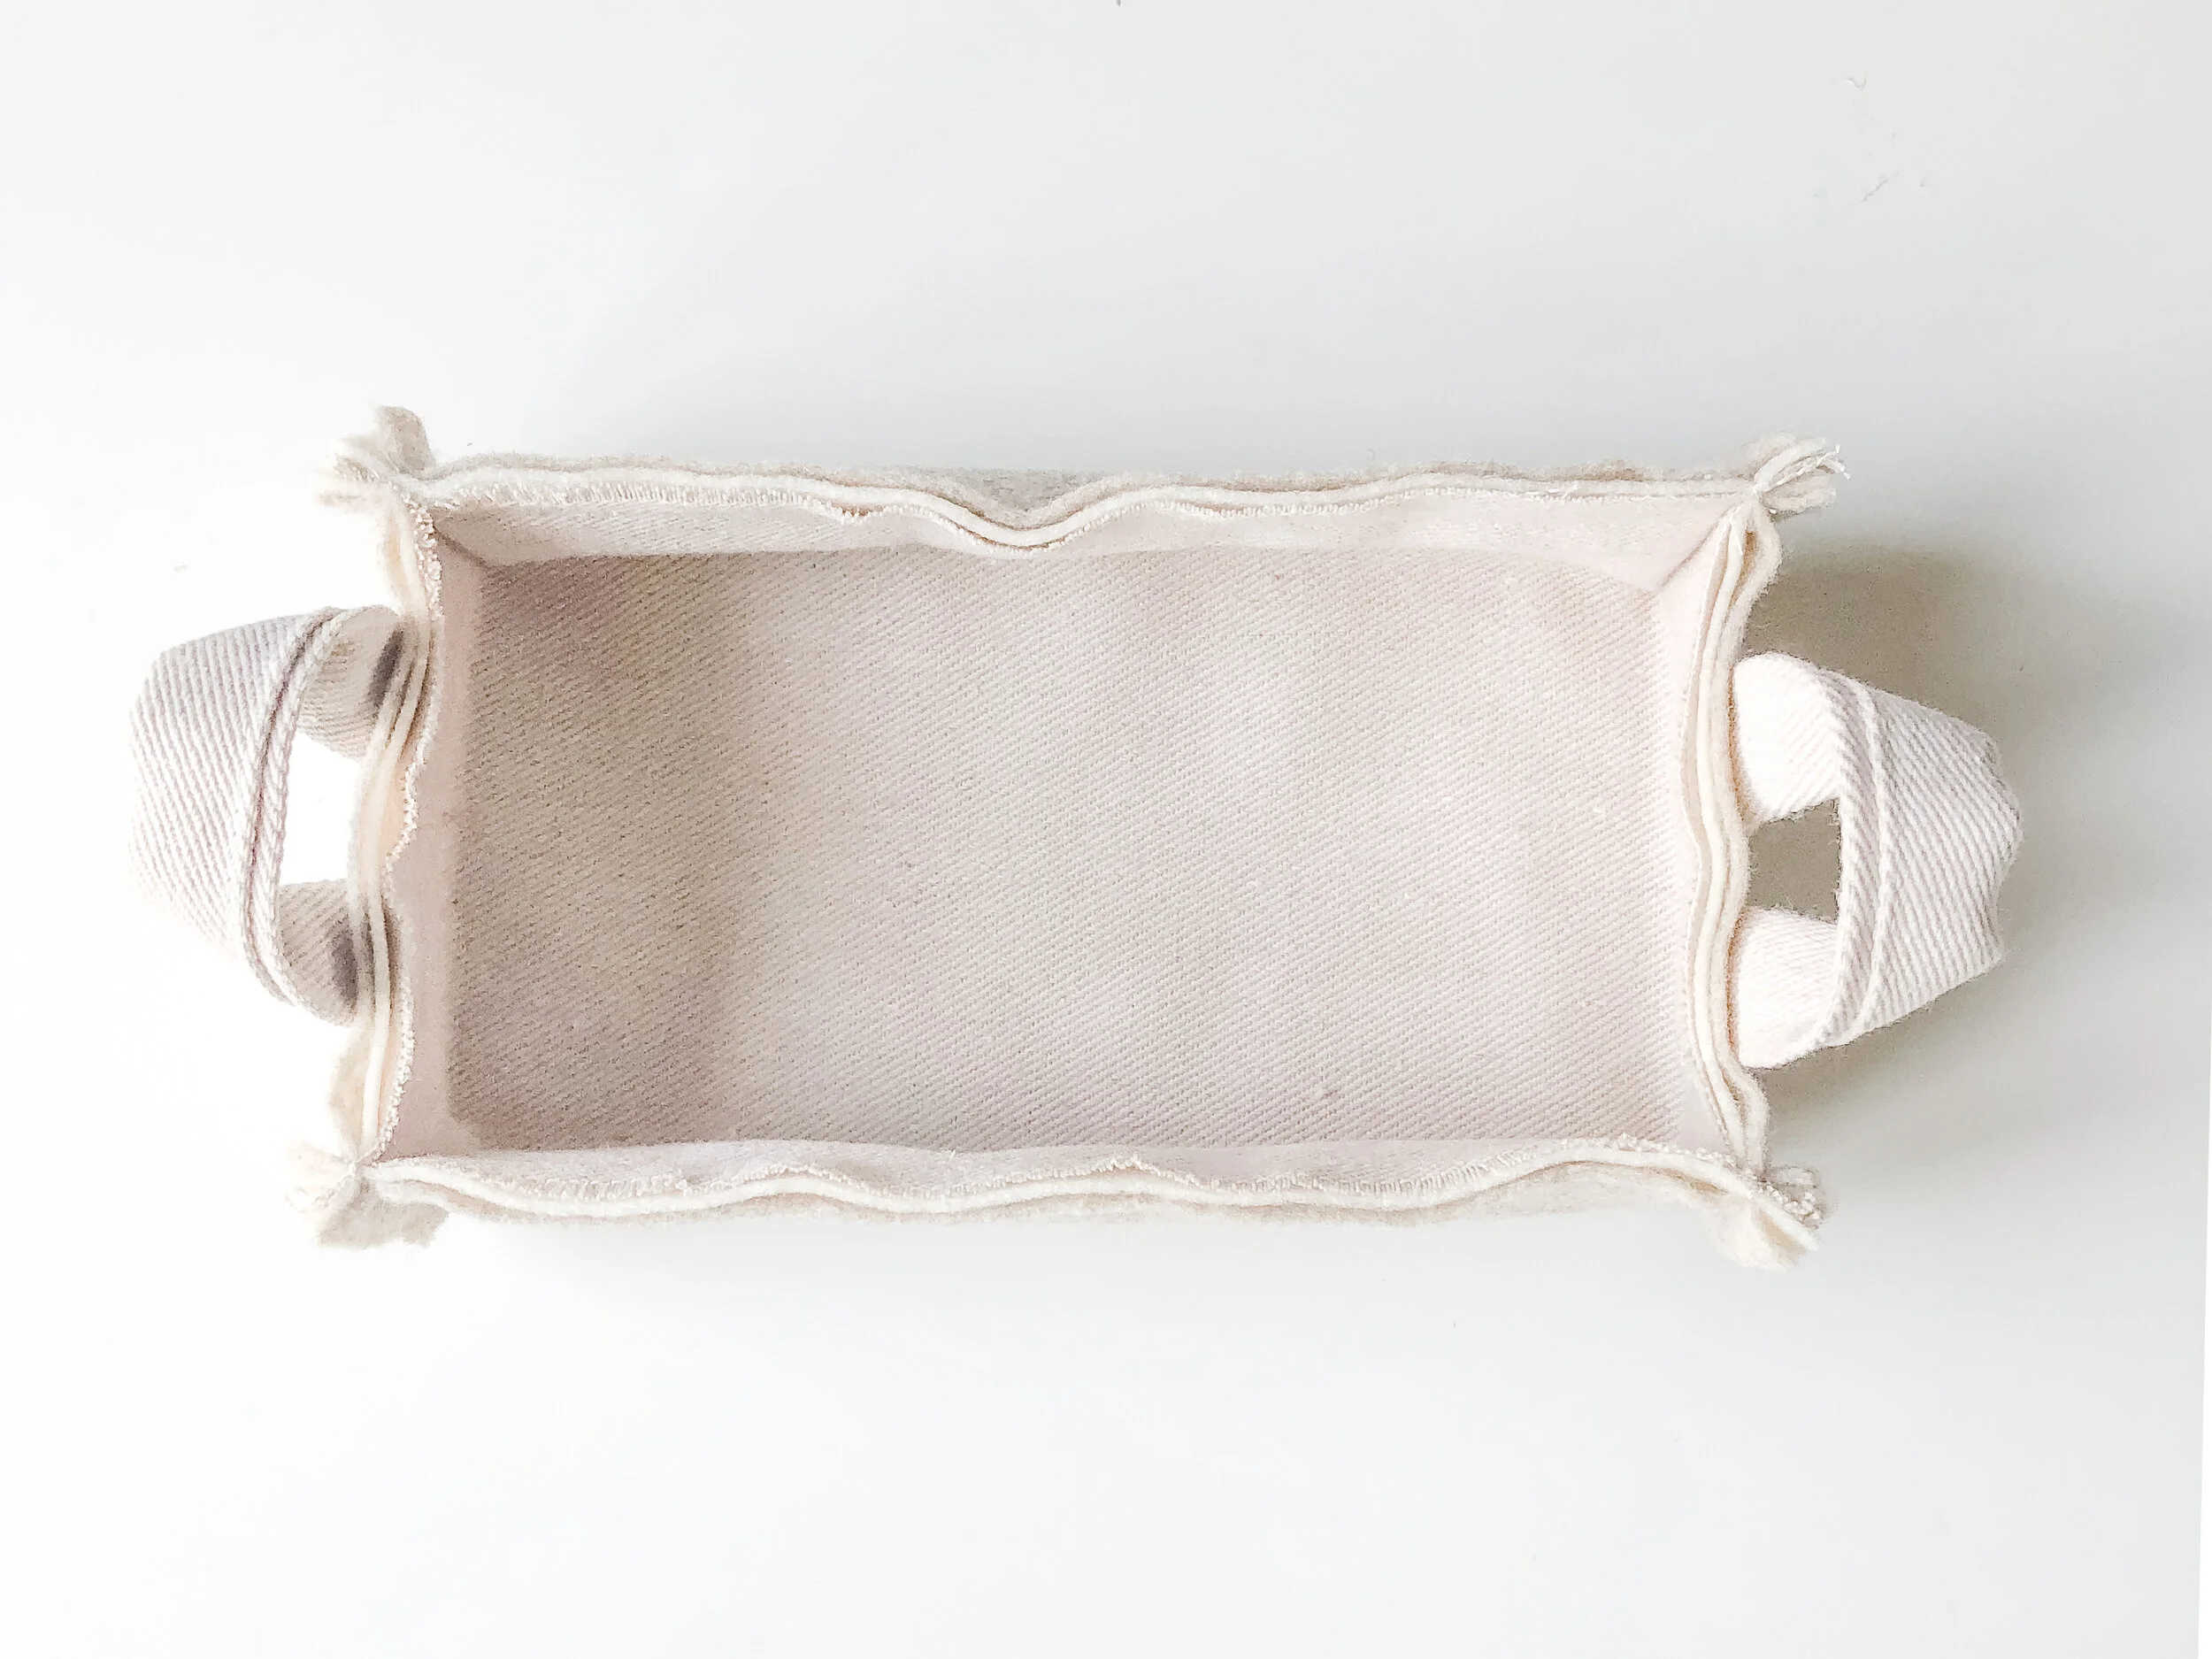
Here is the finished product! If you want to see what all I put in my friend’s baskets - here is the full post on that!

