DIY flower seed pops
This April I got to plan the sweetest daisy first birthday party for my niece Nora and I quickly became one of my favourite themes ever! In the spirit of spring, daisies, and growing up — I knew I wanted to include flower seeds in the guest’s favours so they could plant their own daisies at home!
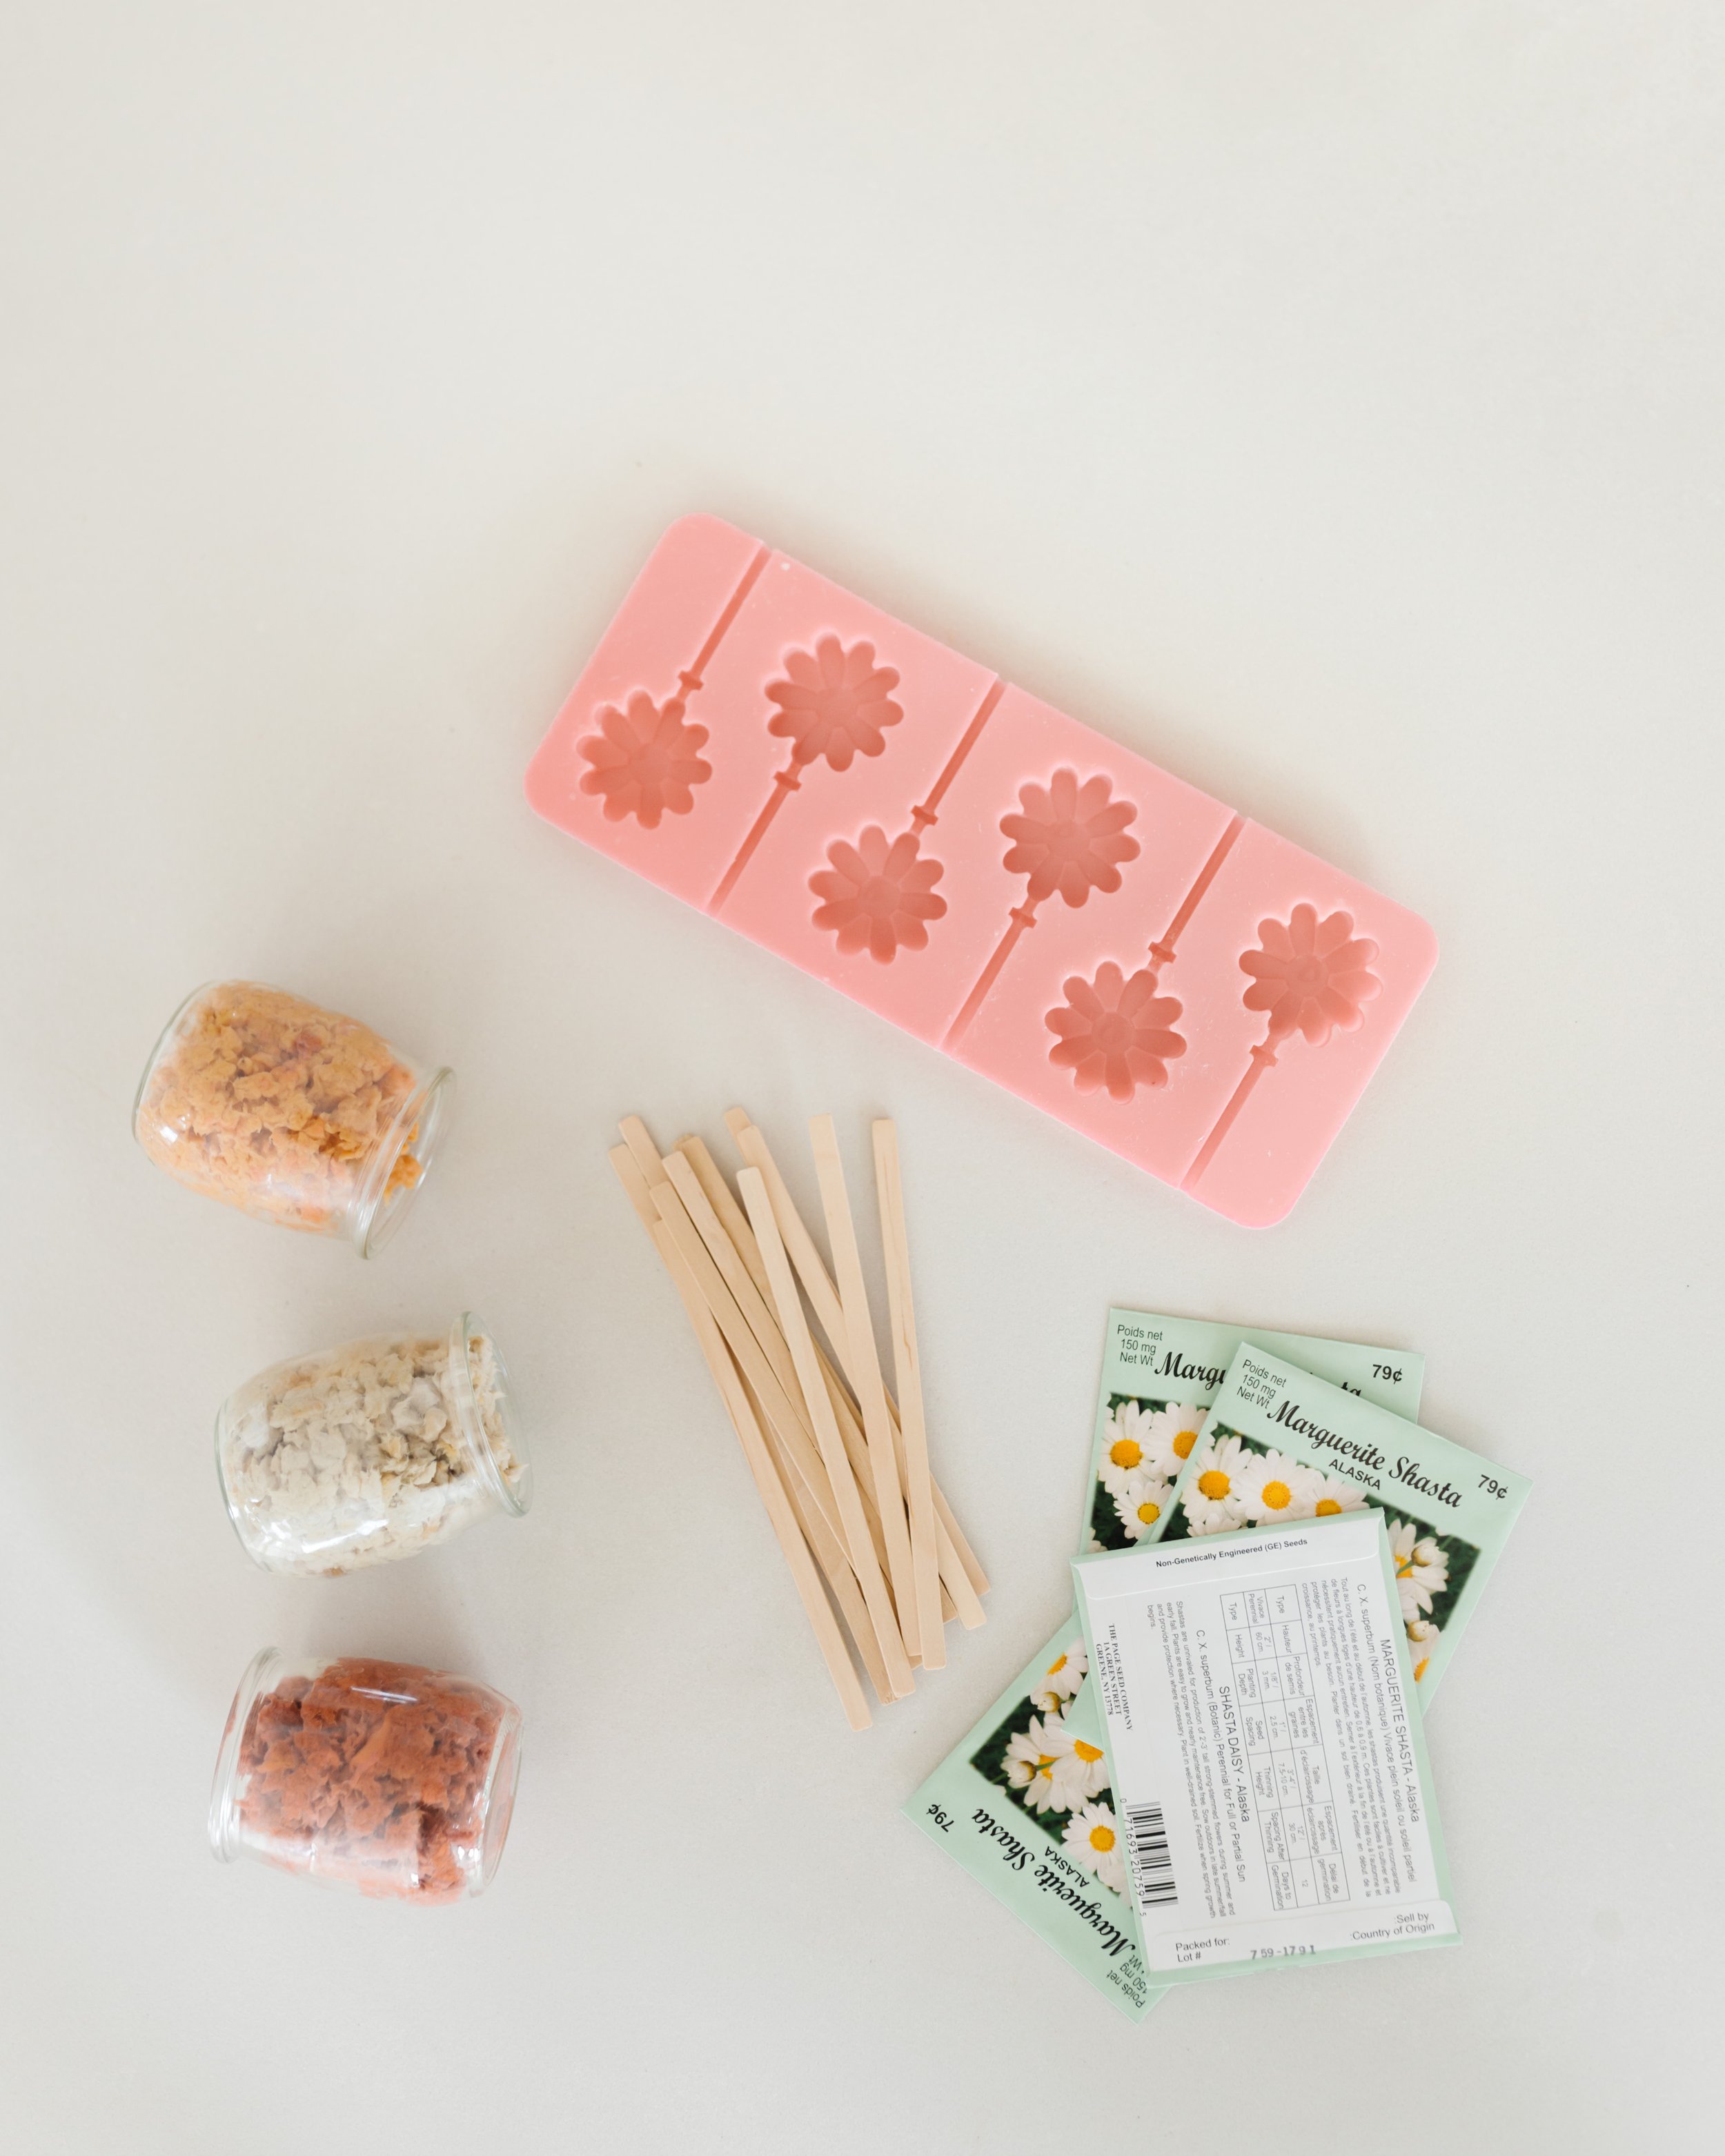
After a little looking around, I couldn’t find any seed packs that would work with the rest of the party decor. So then I thought I would just make my own seed envelopes to put generic seeds into… BUT THEN - found a sweet little way to make DIY paper pulp seed pops! So I tried to find a flower-shaped silicone mould that had a spot for candy sticks (like a candy pop mould) and ended up getting these lollipop ones. I think they ended up turning out really cute and were the perfect little party favour!
DIY FLOWER SEED POPS
you’ll need:
construction paper (i used: light yellow, white, peach, orange, brown and pink colours)
silicone lollipop mold (any will shape will work!)
water
flower seeds (I used shasta daisies, wildflower blend, and calendula seed packets)
First, you’ll need to make your paper pulp. Do do this, I cut/ripped the construction paper into small-ish squares (this doesn’t have to be perfect! I let the kids help me and they loved it!) Then put the paper squares in a bowl of water and let them sit for a for a few minutes (10 maybe?) until they are fully soaked. After that, I transferred the wet paper squares, some of the water into my food processor and blended it up. I wanted my pulp to have a little colour variety, so I blended the colours during this stage and I was really happy with how it turned out! I made a smaller amount of darker yellow to use as the centre of the flowers.
white : white + peach + light yellow
rose: brown + pink
yellow: yellow + orange + brown
peach: peach + light yellow + pink
I liked that I could customize the colours to match the colour palette of the party, and also they didn’t come out looking like standard construction paper colours…if that makes sense? But you could totally make any colour you wanted!
Once the pulp was pretty blended and mushy I took it out of the food processor and squeezed out a bit of excess water with paper towel. If you had a fine mesh strainer that would work too, but I didn’t!


Another detail I wanted to add was a stamp/label for the bottom of the sticks so that I could remember what type of seed was in each pop, and also so that once you planted them you’d have a little garden marker! To make these, I used my Cricut to draw the flower names with their Infusible Ink pen. Then I cut out the labels and ironed them onto the sticks! It worked so well! Alternatively, you could use little letter stamps too for the same look, or your own handwriting with a permanent marker!


Now to assemble the pops! I started with a little round ball of the dark orangey-yellow I made and placed it in the center of the moulds. Next, fill up the mould half way with the pulp. I used the craft sticks to sort of stamp it down into the corners and get it nice and flat and even.


Place your craft stick into the mould, making sure it goes high enough to stay secure later on. Now you can sprinkle your flower seeds in, I used about 1/2 of a seed packet for each pop. Then fill up the rest of the mould with pulp. I used paper towel to remove more water as I went, I found I could press more pulp in and get them more solidly packed this way!


And that’s it! Let the pops dry completely (this will take a few days!) and remove them from the moulds.


Because I was going to be using these as party favours, I wanted to package them up in a sweet way that would protect them a little bit, and also label them so guests new what they were! I decided to use parchment paper for the wrappers. I tried to print on parchment but the ink smeared, so I instead printed the labels onto tracing paper (which looked exactly like parchment, but without the coating) and that worked! (I just taped a piece of trace onto regular printer paper and fed it through the top feeder on my printer!) You could also make a sticker on sticker paper, but I wanted to be able to sort of see the seed pop through the wrapper, and I loved how they turned out! (You can download the labels and print your own wrappers here!)


Finally, I cut out the arched wrapper shape, placed it on top of a larger square piece of parchment paper, and sewed along the edges with my sewing machine. I realized after that I could have cut out both pieces together after I sewed them…but I was kind of making this part up as I went!) But whichever way you choose, once they were all sewed/cut out, I had a little envelope/sleeve to put on the flower pops with the printed label on the front!


Last but not least, I scrunched the paper around the stick and tied it with a cotton string! Now, we just need to plant ours and watch our flowers grow!

