turn an old t-shirt into a scrunchie!
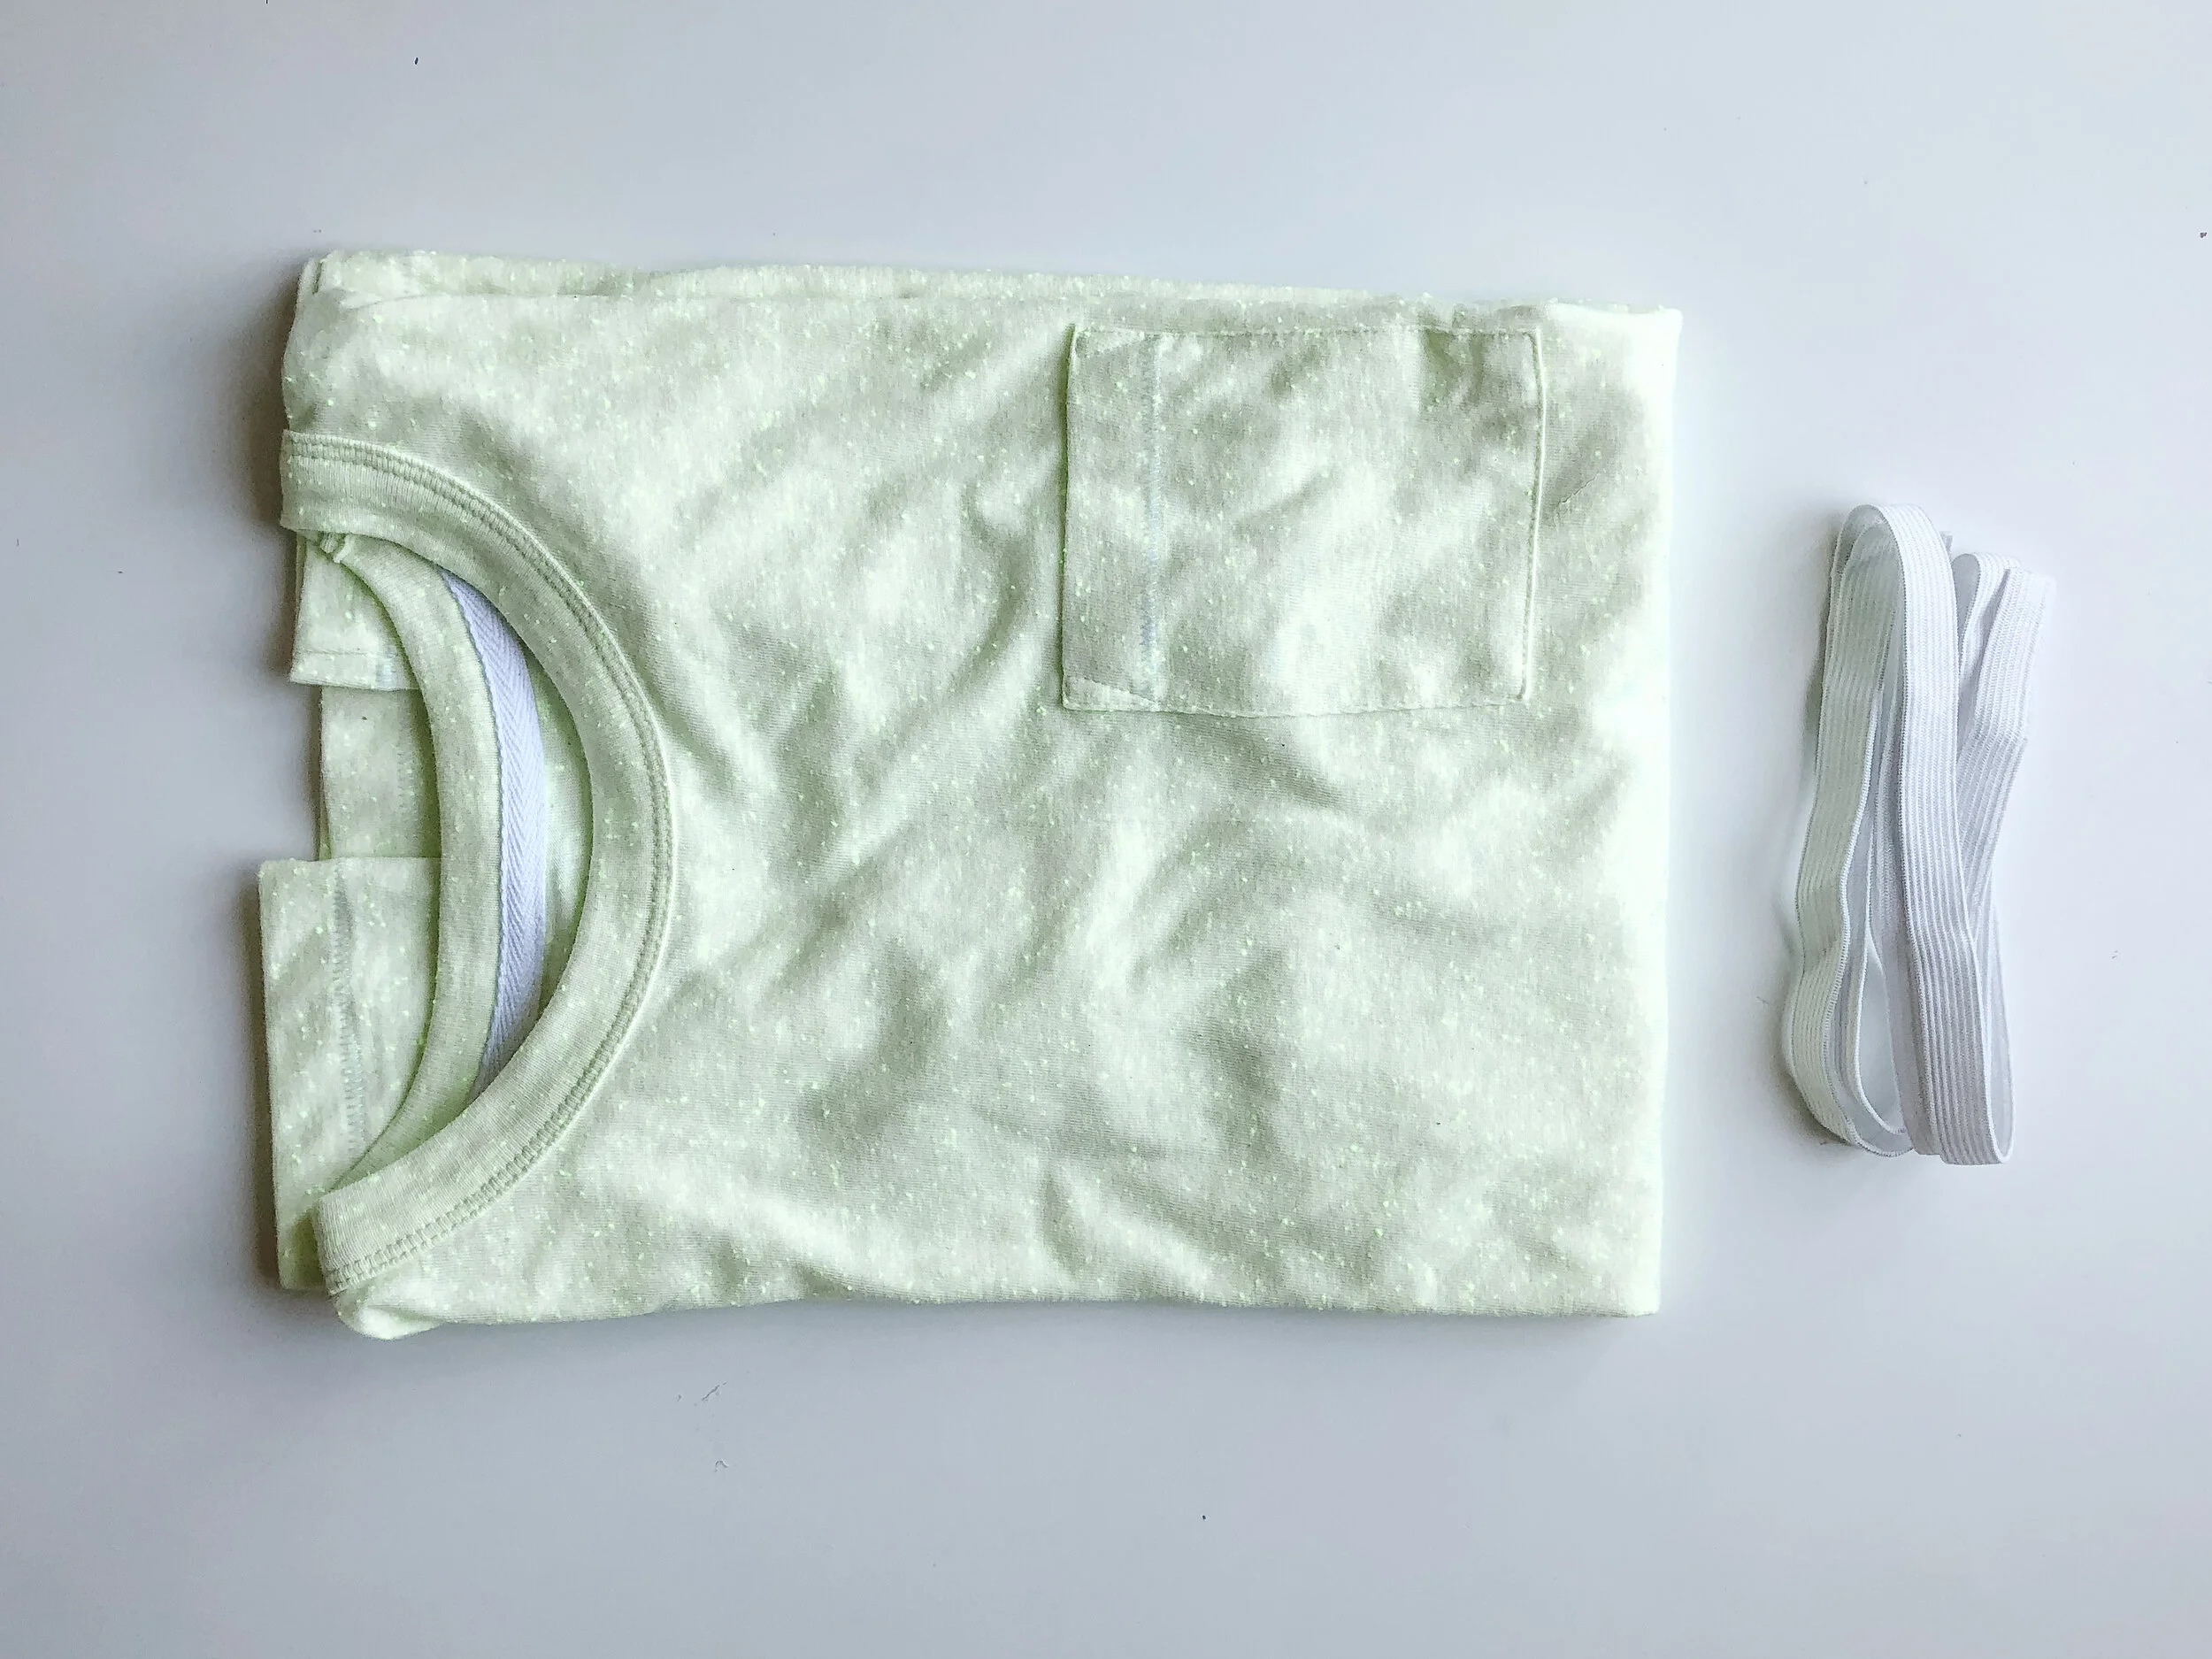
This DIY is so easy and I love that you can repurpose an item of clothing that would otherwise be tossed out to never worn again! For these scrunchies, I used this fun Joe Fresh lime green T-shirt.

(Sorry for the poor quality photos below - I took them on my phone to show the process!)
Here’s what you’ll need:
T-shirt (this is a great way to repurpose an old shirt you no longer wear, or one that your kids has outgrown, has a stain…etc!) I would suggest using the equivalent of a ladies small (or larger) though, as you want the scrunchies to have enough gather in the fabric!
Elastic (1/4-1/2” will work - really anything you can find will do!), I cut mine to about 7” (you want it to be comfortable around your wrist, but also big enough to go around your hair a few times!)
sewing machine
2 safety pins

STEP 1:
Cut the t-shirt into 2.5”-3” strips (depending on how many you want to make, the wider the better! (you could remove the pocket and use the top part of the shirt too!)

STEP 2:
Turn the strips inside out so the original t-shirt side seams are visible.

STEP 3:
Here’s where it gets a little tricky. So instead of sewing it inside and and turning the “tube” right-side out…this is a little trick that turns it as you go! Ok - so with the strip laying inside-out, take the top layer and fold it down to the middle of the strip.

STEP 4:
Now take the fold the bottom (still just the top layer) up to the middle to overlap the top layer you just folded down.

STEP 5:
Now, take the bottom layer and fold it up around the folds you just made. Line up the edges, and this is where you will start to sew (see dotted line above!)

STEP 6:
so now, as you start to sew…keep bringing the outer edges together as you go, and pulling the inside “tube” out… it will eventually become one big loop, and you won’t have to flip it right-side out! It’s basically magic. Keep sewing until you only have a little opening left (this is where you’ll insert the elastic)

TADAA! Here’s your loop, all sewn together with a small opening (see the little hole?) to add your elastic.

To add the elastic, I found it helpful to attache one end of the elastic with a safety pin to the edge of the opening, and then attach another safety pin to the other end of the elastic to help feed it through the loop of fabric. once its through, remove the safety pins, overlap the elastic, and sew together!
Then spread out the fabric around the elastic and sew the small opening closed. That’s it!

