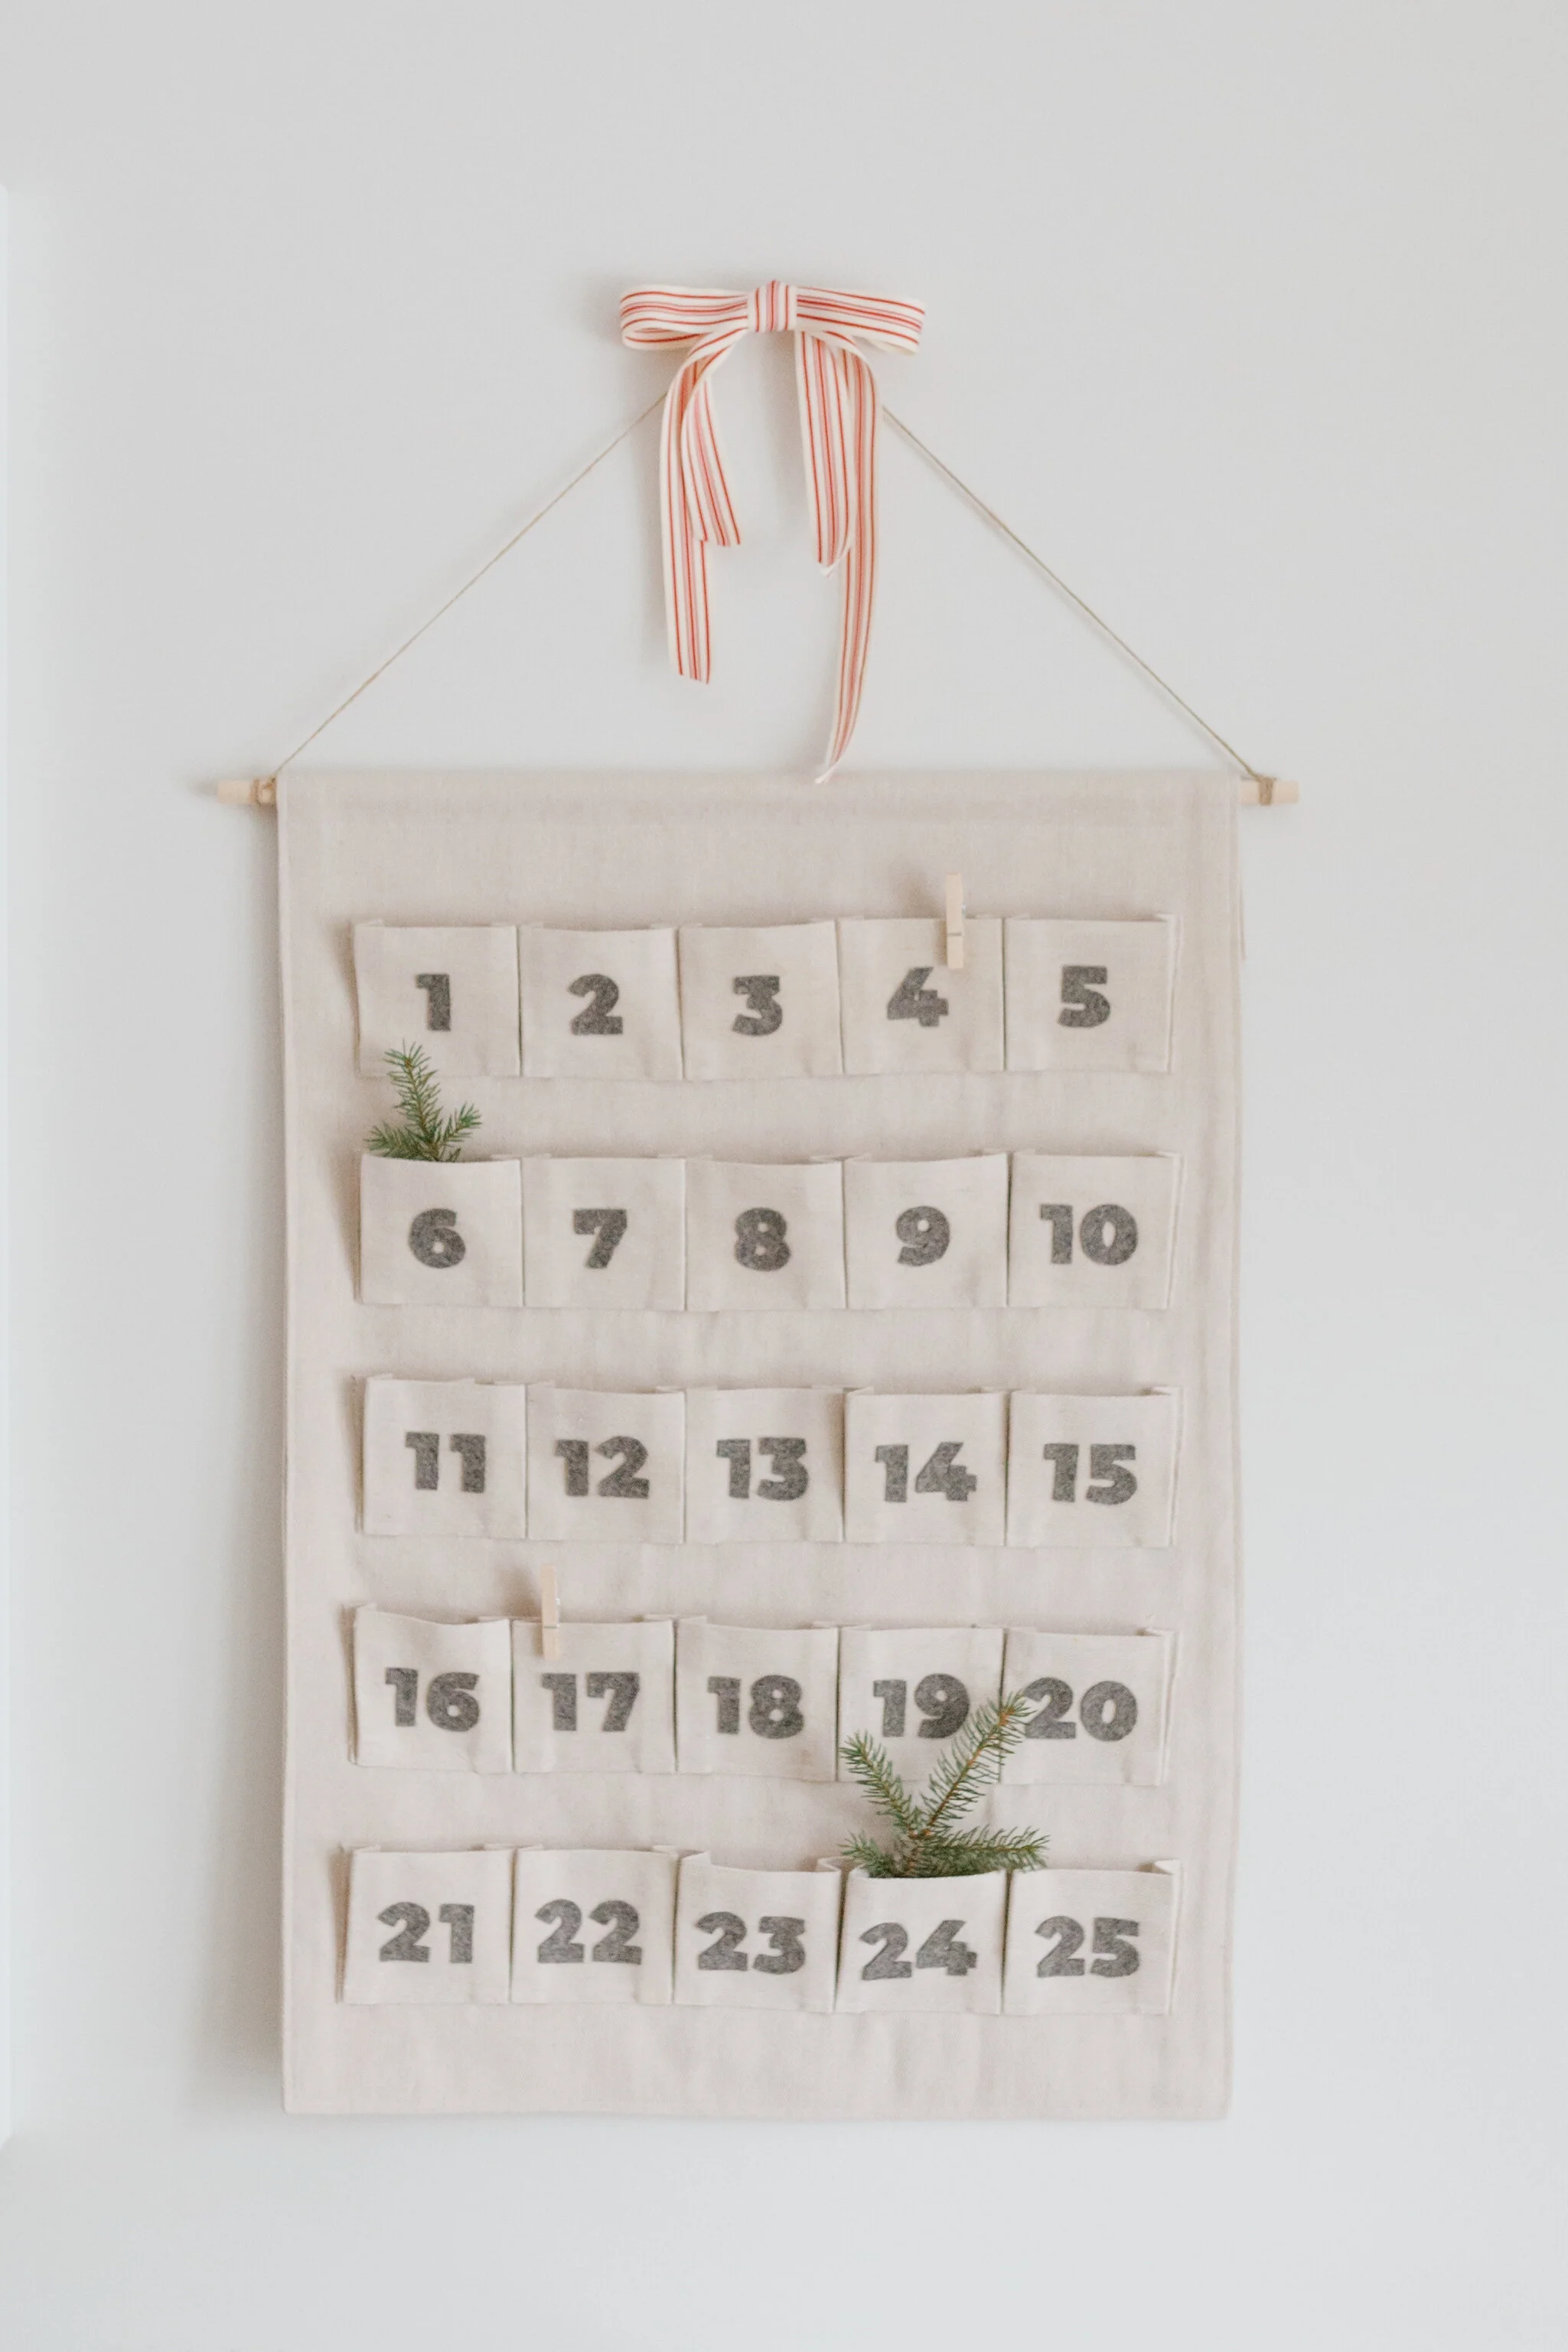
canvas pocket advent calendar
This year, with Lauren getting more into Christmas - I thought it would be fun to do an advent activity calendar. I started looking around, but soon realized I wanted it to be something that we could re-use every year. I found a few fabric ones I liked, but decided it would be pretty easy and more affordable to just make one! I planned it out (sort of…) and got to work.
I am pretty happy with how it turned out, and I love that it’s sturdy enough to use year after year, and that I can put fun little treats and activity cards in each pocket for Lauren to open each day leading up to Christmas Day! *side note: it was actually harder to do 24 things than I thought it would be! But it actually became a fun way to keep busy in the cold weather, and do something christmassy every day!
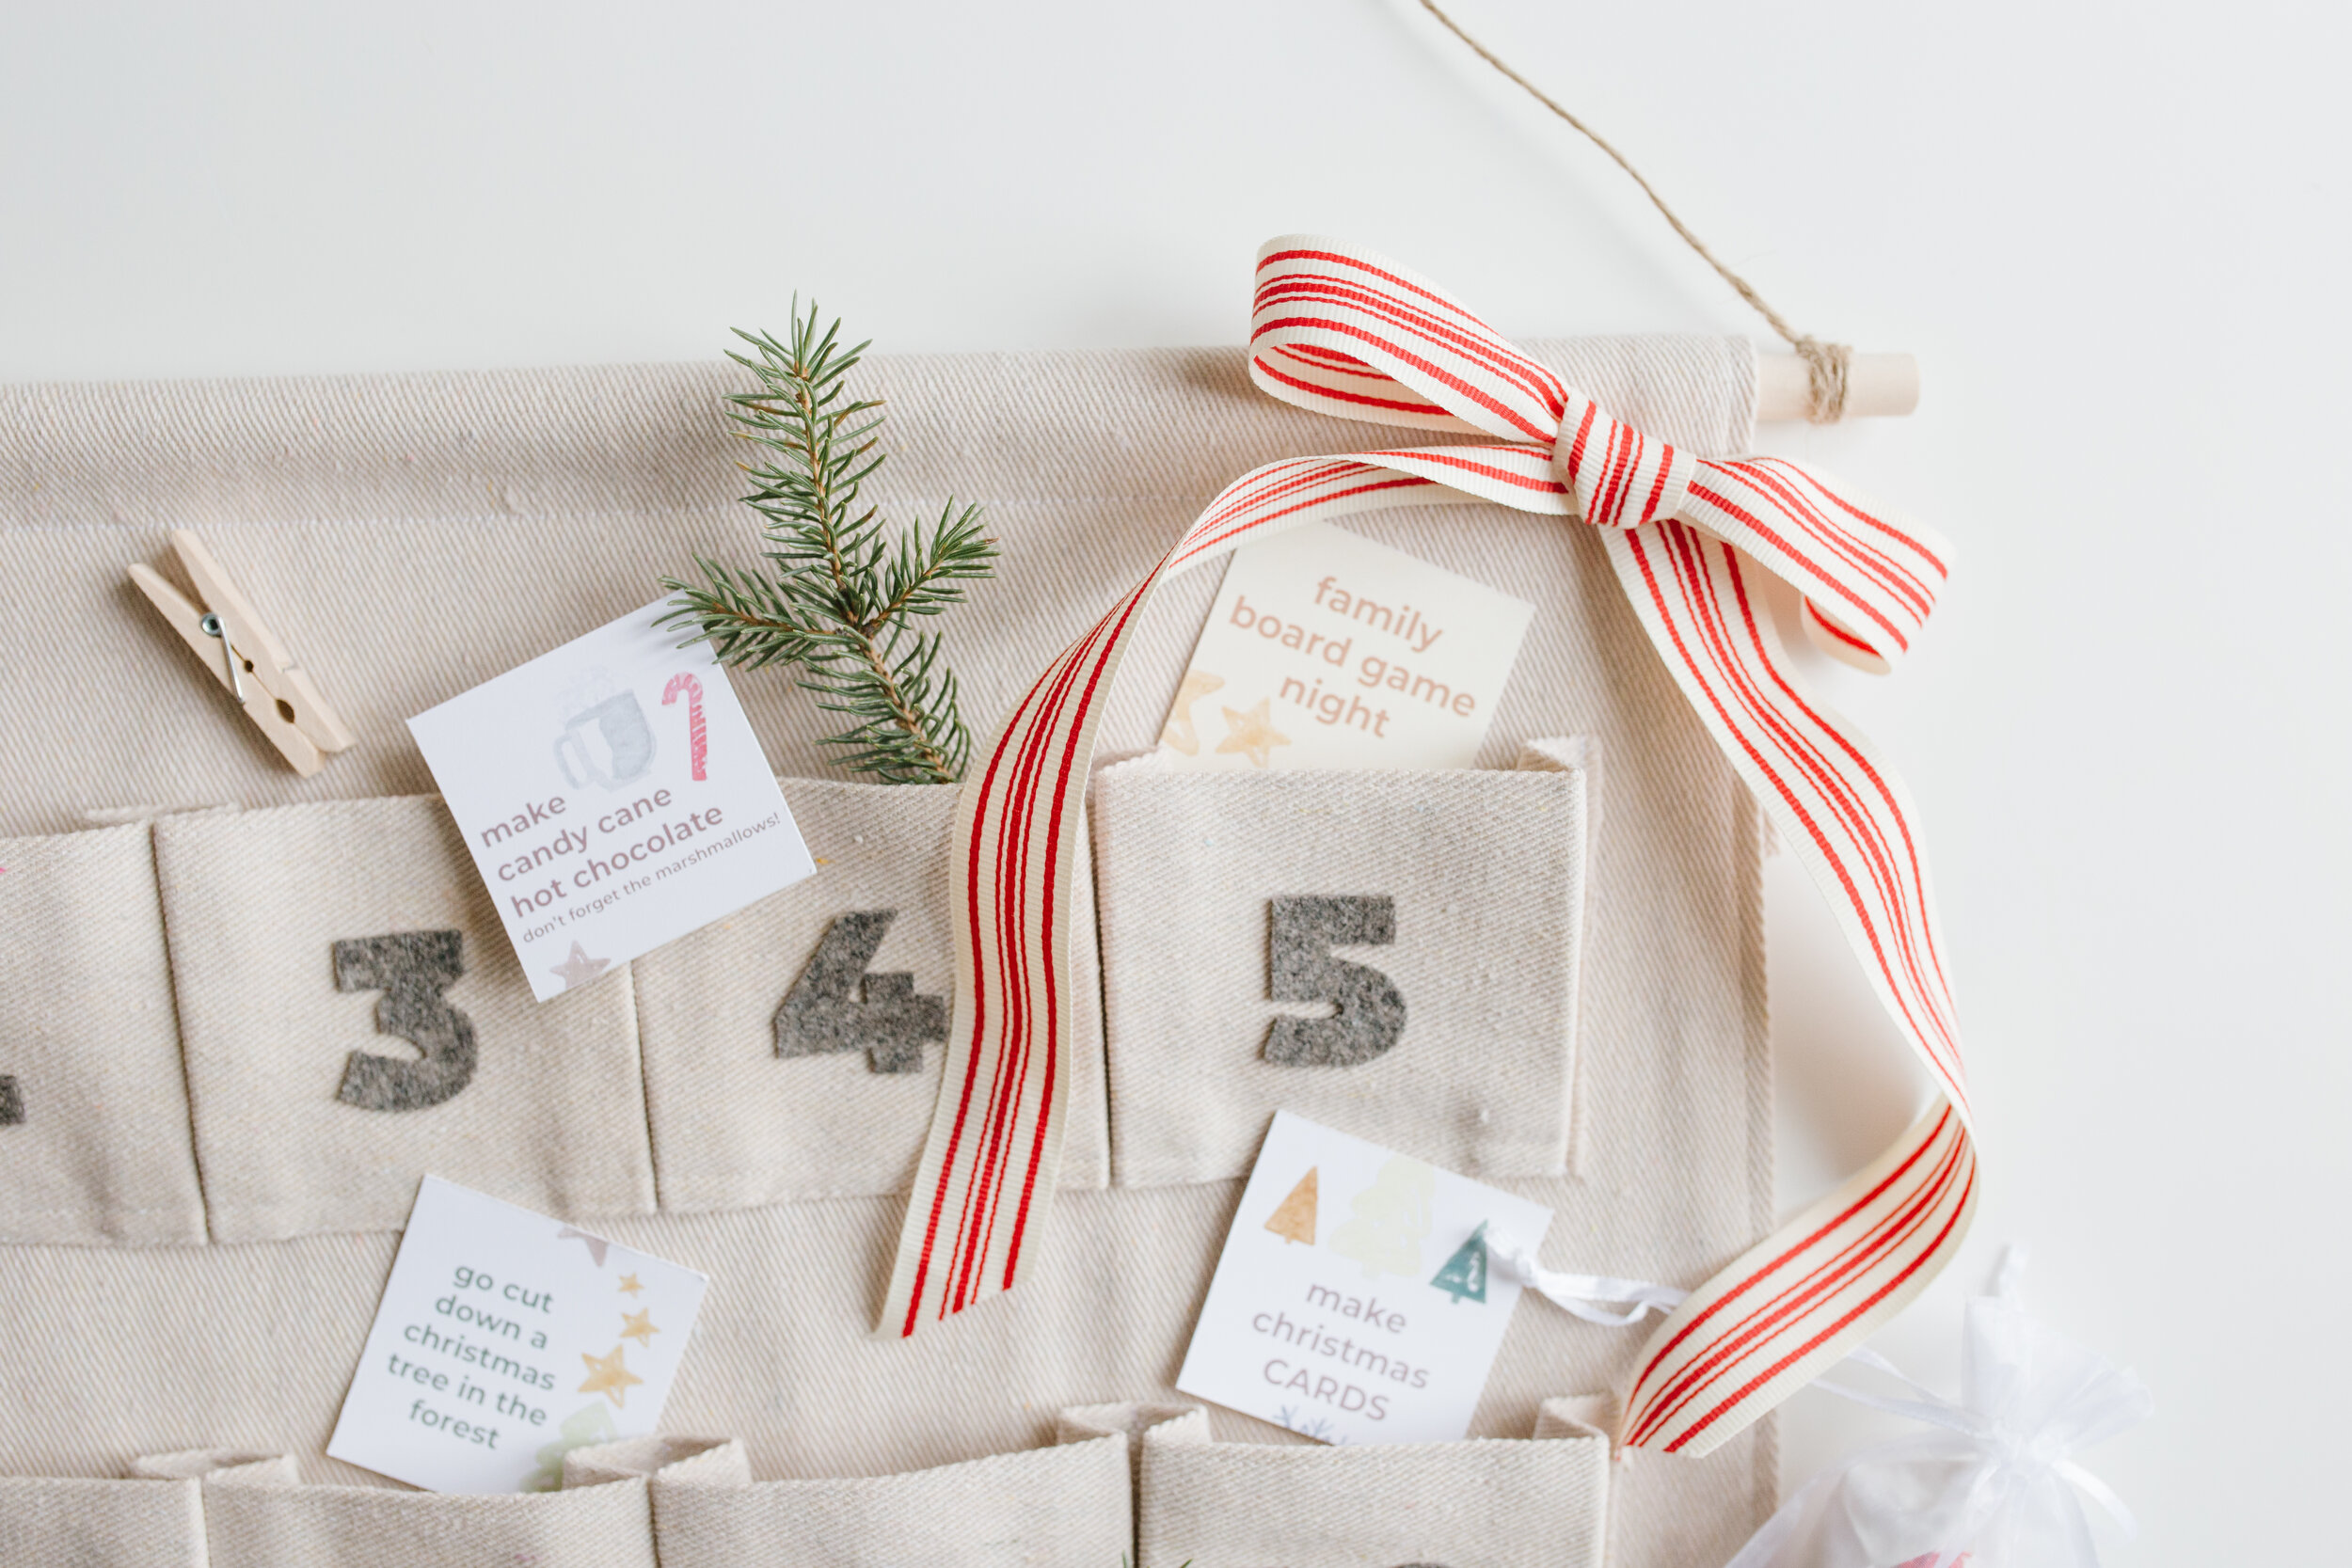
I made these little activity cards to put in each pocket, and added a little treat or surprise (I found christmas balloons, stickers, chocolates!) but I love that I can plan and change what the kids will get as they get older! See below for a free download of the activity cards I made for our calendar this year.


activity cards free download
I made 24 watercolour Christmas activity cards to go in each pocket
(excluding Christmas Day!). You can download them below, and cut them out for your own calendars! They are 2” x 2” cards, I printed them on matte white 8.5”x 11” cardstock. Be sure to tag me @emelbedesign on instagram if you use them!
diy canvas advent calendar
Materials:
large piece of canvas fabric (I used a painter’s drop cloth from our local hardware store, it was inexpensive, but a lot larger than I needed)
grey felt
tacky glue
wood dowelling
twine
iron
ruler
pins
sewing machine + white thread

Directions:
Cut a large rectangle of fabric, (about 20” x 52”) Fold (inside out) along the short side, sew along the sides and flip it back to right-side out. Press the seams flat and sew along sides and bottom. Fold over the top and sew across leaving enough room for the dowelling. My finished size was about 17” x 23”)
Cut out 5 strips of fabric, approximately 30” x 4”. I planned on each pocket being 3”x 3”, so I cut out long strips of fabric so that each row would have 5 pockets - with enough extra to hem the top and bottom 1/2”, and extra length to have 2” of pleats between each pocket.
Fold the top and bottom lengths of the fabric strip and iron flat, so that strip is 3” tall. Sew along the top edge and bottom edge.
Start pleating the strip, using an iron to press/pin as you go. I folded the strips back/forth so that each pocket was 3” wide.
Pin strips (I did one at a time) and sew onto the large rectangle. I left 1” of space on each side, and 2” at the top and bottom, and 1” between the rows.
Sew in between each pocket (where the folds touch) to divide and secure each pocket.
Trace out numbers onto felt (reversed so that you don’t have any markings on the front - unless you have a fancy pen that wipes off! I didn’t have one on hand) cut out, and glue onto each pocket.
Feed the dowelling through the top fold, and tie on the twine to hang.

